> ## Documentation Index
> Fetch the complete documentation index at: https://docs.dqlabs.ai/llms.txt
> Use this file to discover all available pages before exploring further.
# IBM Verify
> Step-by-step guide to configuring IBM Security Verify as the SAML 2.0 identity provider for single sign-on into Prizm.
## Overview
This guide describes how to configure **IBM Security Verify** as the SAML 2.0 Identity Provider (IdP) for PRIZM. After completing the configuration, entitled users can securely authenticate to PRIZM using their IBM Security Verify credentials.
## Prerequisites
Before you begin, ensure you have:
* IBM Security Verify Administrator privileges
* Permission to create SAML applications
* PRIZM Administrator access
* PRIZM Service Provider (SP) details:
* Entity ID
* ACS URL
* Sign-on URL
## Step 1: Configure IBM Security Verify
1. Sign in to the **IBM Security Verify Admin Console** create your tenant.
2. Navigate to: **Applications → Add Application**
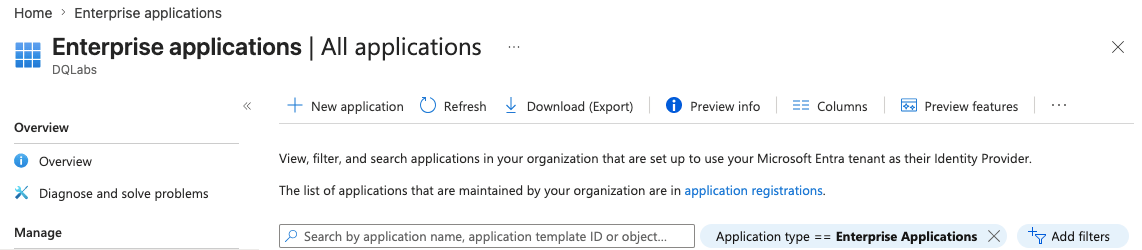 3. Select **Custom Application**.
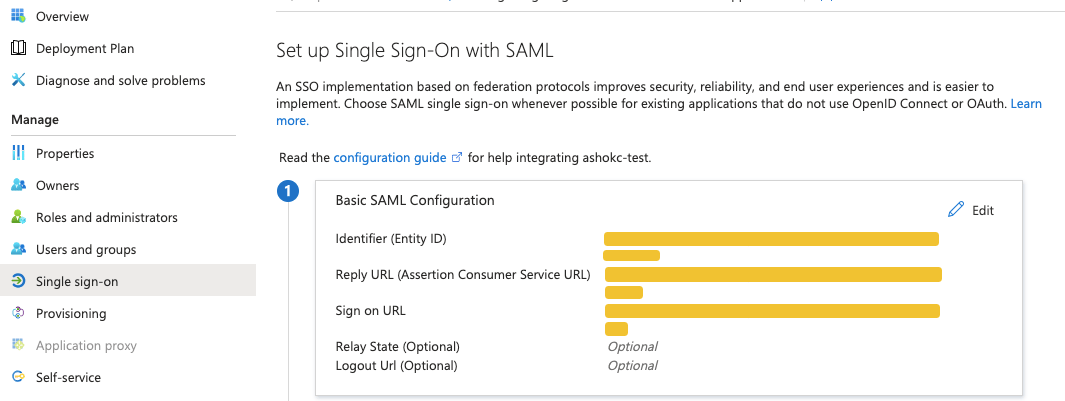 4. Configure **SAML 2.0** as the sign-on method and make sure "Use metadata" is disabled.
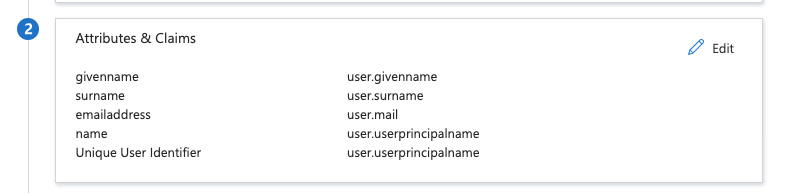 5. Provide the application details (Application Name, Company Name, Owner) in General tab.
6. Configure the following SAML settings using the values available in **PRIZM → Profile → Organization → SSO/SAML**.
\*Note the tenant name: Your tenant name is the subdomain of your login URL — e.g. if your URL is [mycompany.verify.ibm.com](http://mycompany.verify.ibm.com), your tenant name is [mycompany.verify.ibm.com](http://mycompany.verify.ibm.com). You will need this to download the metadata XML file.
| IBM Security Verify Field | PRIZM Value |
| :----------------------------------------- | :---------- |
| Provider ID | Entity ID |
| Assertion Consumer Service URL (HTTP-POST) | ACS URL |
| Target URL | Sign-on URL |
| Service Provider SSO URL | Sign-on URL |
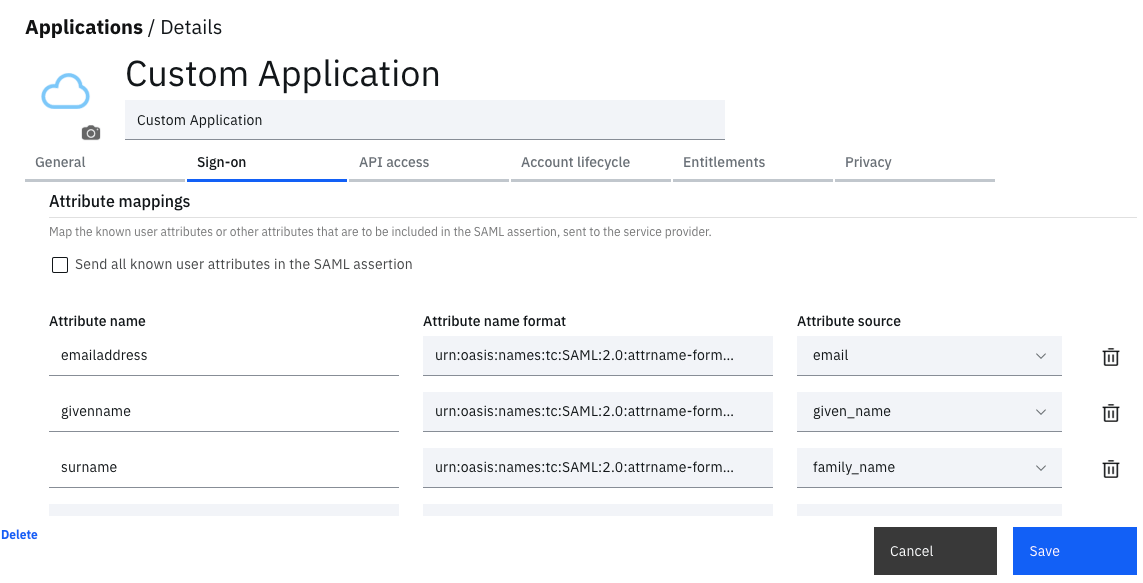
7. Configure the required attribute mappings.
|
5. Provide the application details (Application Name, Company Name, Owner) in General tab.
6. Configure the following SAML settings using the values available in **PRIZM → Profile → Organization → SSO/SAML**.
\*Note the tenant name: Your tenant name is the subdomain of your login URL — e.g. if your URL is [mycompany.verify.ibm.com](http://mycompany.verify.ibm.com), your tenant name is [mycompany.verify.ibm.com](http://mycompany.verify.ibm.com). You will need this to download the metadata XML file.
| IBM Security Verify Field | PRIZM Value |
| :----------------------------------------- | :---------- |
| Provider ID | Entity ID |
| Assertion Consumer Service URL (HTTP-POST) | ACS URL |
| Target URL | Sign-on URL |
| Service Provider SSO URL | Sign-on URL |
7. Configure the required attribute mappings.
|
**Attribute name**
**(Prizm variable)** | **Attribute name format** | **IBM SV attribute source** | **Required** |
| :-------------------------------------------------- | :------------------------ | :-------------------------- | :----------- |
| emailaddress | basic | email | Yes |
| givenname | basic | given\_name | Optional |
| surname | basic | family\_name | Optional |
 8. Save the application.
## Step 2: Configure PRIZM
1. Download the **Federation Metadata XML** from IBM Security Verify.
8. Save the application.
## Step 2: Configure PRIZM
1. Download the **Federation Metadata XML** from IBM Security Verify.
IBM Security Verify does not provide a download button on the application page. The Federation Metadata XML is accessed via a direct tenant-level URL.
* **Open in browser:** Paste the following URL into your browser while logged into IBM Security Verify:
> https\://{yourTenantName}/v1.0/saml/federations/saml20ip/metadata
* Save the file: Right-click the page → **Save as** → ensure the filename ends in .xml
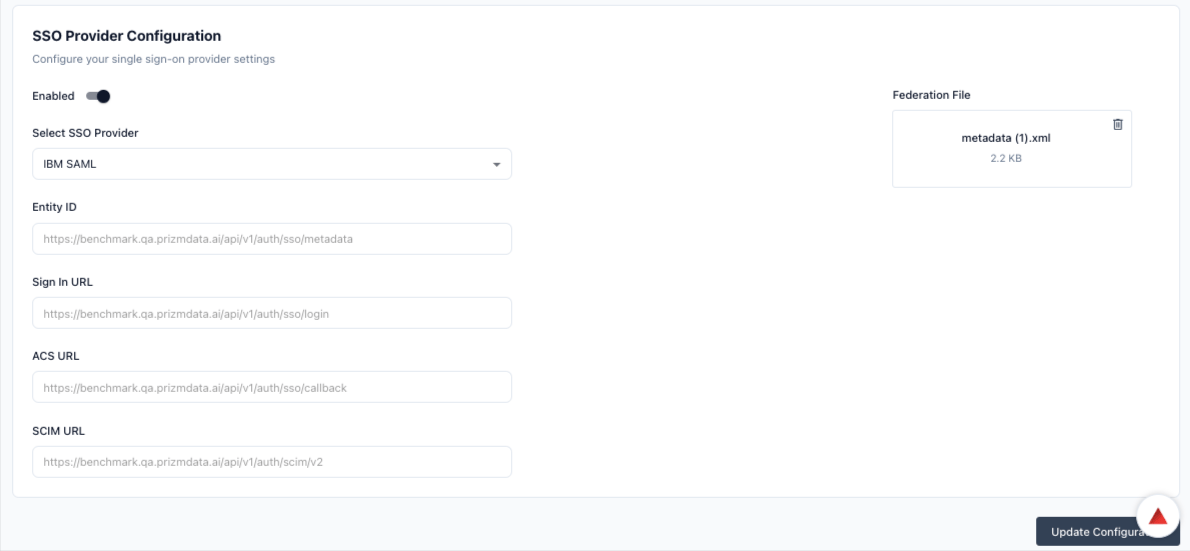
2. In PRIZM, navigate to: **Profile → Organization → SSO/SAML**
3. Enable **Single Sign-On**.
4. Select **IBM Security Verify** as the Identity Provider.
5. Upload the **Federation Metadata XML**.
6. Click **Save**.
 ## Step 3: Assign Users
In IBM Security Verify:
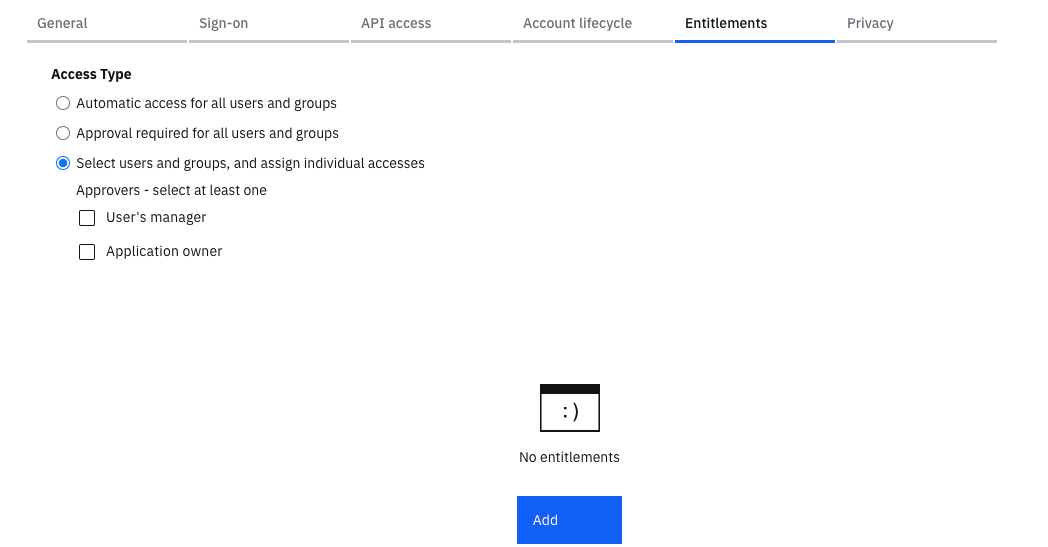
* Open the PRIZM application.
* Navigate to the **Entitlement** tab.
* Assign the required users or groups.
* Save the configuration.
## Step 3: Assign Users
In IBM Security Verify:
* Open the PRIZM application.
* Navigate to the **Entitlement** tab.
* Assign the required users or groups.
* Save the configuration.
 In PRIZM:
Go to Access page and enable SSO for the users.
Users must be entitled before testing SSO.
## Step 4: Test Login
1. Navigate to the PRIZM login page.
2. Select **Sign in with SSO**.
3. Enter your corporate email address.
4. Authenticate using IBM Security Verify.
After successful authentication:
* Existing PRIZM users are authenticated.
* New users are automatically provisioned during their first login (JIT provisioning).
* Roles are assigned automatically based on incoming group mappings.
### SCIM Provisioning (Optional)
1. Open the PRIZM application.
2. Configure SCIM provisioning.
3. Enter:
* SCIM Endpoint
* Authentication Token
4. Save the configuration.
5. Enable provisioning.
6. Assign users/groups.
In PRIZM:
Go to Access page and enable SSO for the users.
Users must be entitled before testing SSO.
## Step 4: Test Login
1. Navigate to the PRIZM login page.
2. Select **Sign in with SSO**.
3. Enter your corporate email address.
4. Authenticate using IBM Security Verify.
After successful authentication:
* Existing PRIZM users are authenticated.
* New users are automatically provisioned during their first login (JIT provisioning).
* Roles are assigned automatically based on incoming group mappings.
### SCIM Provisioning (Optional)
1. Open the PRIZM application.
2. Configure SCIM provisioning.
3. Enter:
* SCIM Endpoint
* Authentication Token
4. Save the configuration.
5. Enable provisioning.
6. Assign users/groups.