> ## Documentation Index
> Fetch the complete documentation index at: https://docs.dqlabs.ai/llms.txt
> Use this file to discover all available pages before exploring further.
# Okta
> Step-by-step guide to configuring Okta as the SAML 2.0 identity provider for single sign-on into Prizm.
## Overview
This guide describes how to configure **Okta** as the SAML 2.0 Identity Provider (IdP) for PRIZM. After completing the configuration, users assigned to the PRIZM application in Okta can securely access PRIZM using their corporate credentials.
## Prerequisites
Before you begin, ensure you have:
* Okta Administrator privileges
* Permission to create SAML applications
* PRIZM Administrator access
* PRIZM Service Provider (SP) details:
* Entity ID
* ACS URL
* Sign-on URL
## Step 1: Configure Okta
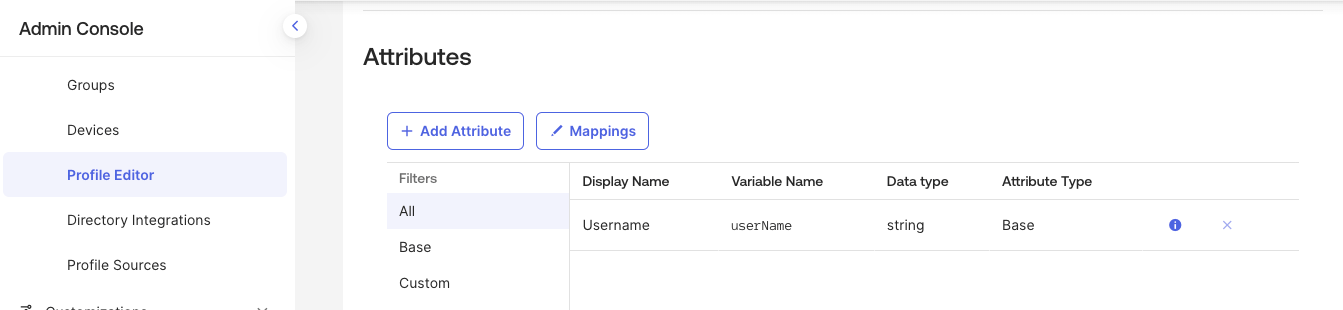
1. Navigate to **Applications → Create App Integration**.
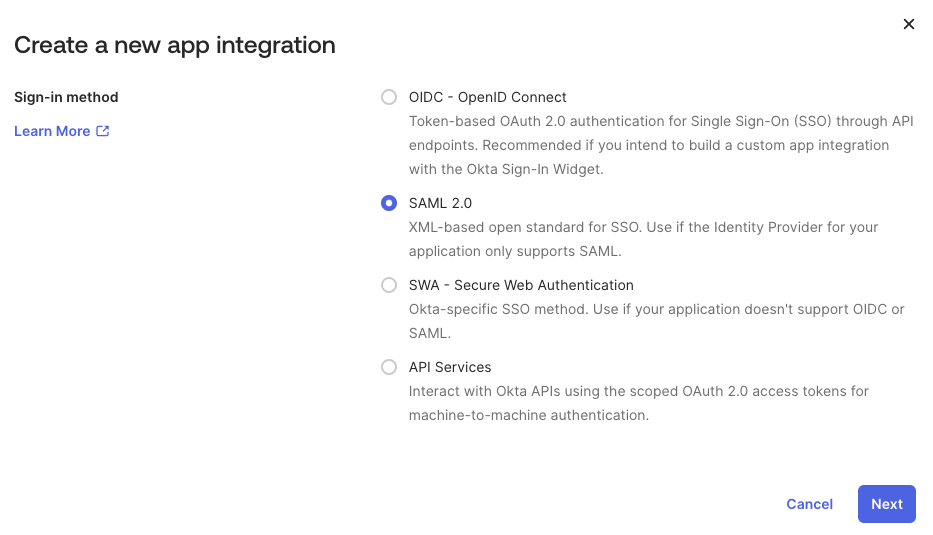
 2. Select **SAML 2.0** and click **Next**.
 3. Enter the application name (for example, **PRIZM**).
4. Configure the following SAML settings using the values available in **PRIZM → Profile → Organization → SSO/SAML**:
3. Enter the application name (for example, **PRIZM**).
4. Configure the following SAML settings using the values available in **PRIZM → Profile → Organization → SSO/SAML**:
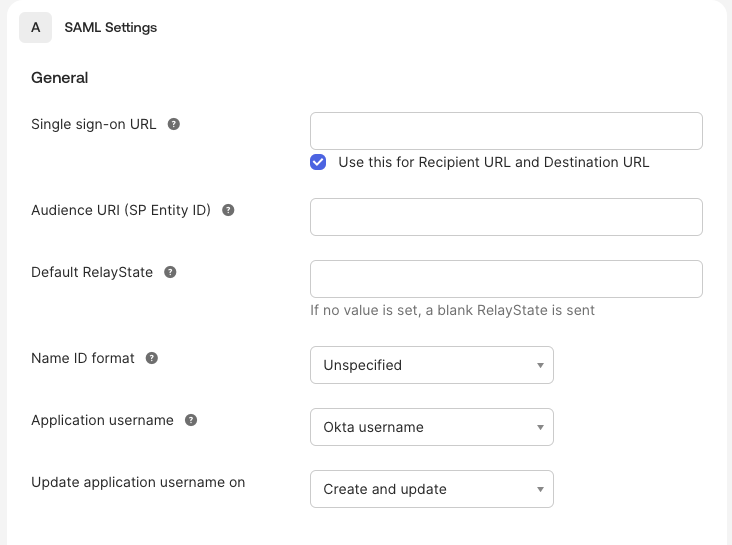 | Okta Field | PRIZM Value |
| :-------------------------- | :---------- |
| Single Sign-On URL | ACS URL |
| Audience URI (SP Entity ID) | Entity ID |
| Default Relay State | Sign-on URL |
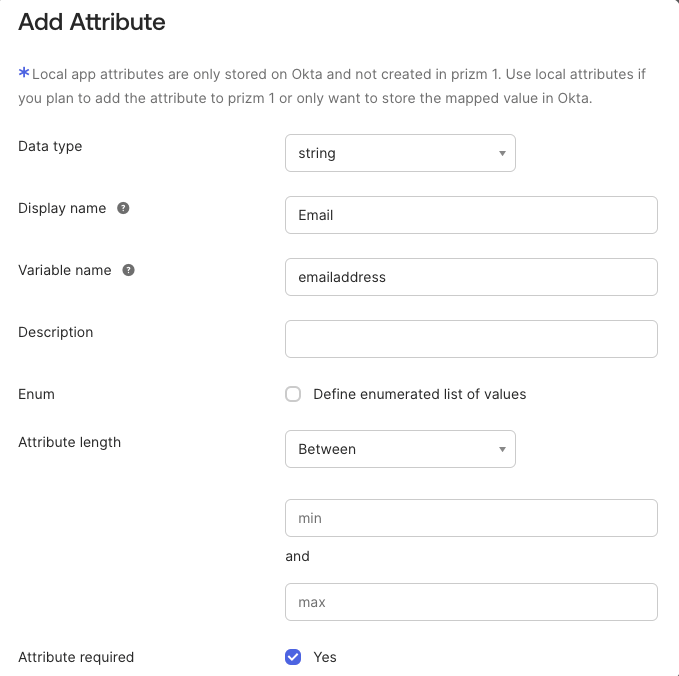
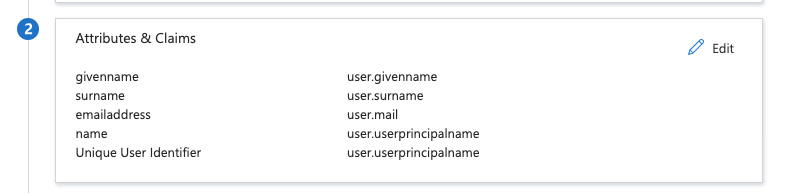
5. Configure the required attribute mappings:
| PRIZM Attribute | Okta Attribute |
| :------------------ | :------------------------------ |
| emailaddress | [user.email](http://user.email) |
| givenname | user.firstName |
| surname | user.lastName |
| groups *(optional)* | User Groups |
| Okta Field | PRIZM Value |
| :-------------------------- | :---------- |
| Single Sign-On URL | ACS URL |
| Audience URI (SP Entity ID) | Entity ID |
| Default Relay State | Sign-on URL |
5. Configure the required attribute mappings:
| PRIZM Attribute | Okta Attribute |
| :------------------ | :------------------------------ |
| emailaddress | [user.email](http://user.email) |
| givenname | user.firstName |
| surname | user.lastName |
| groups *(optional)* | User Groups |
 6. Complete the application setup.
>
>
6. Complete the application setup.
>
>  >
## Step 2: Configure PRIZM
1. In Okta, open the PRIZM application.
2. Navigate to the **Sign On** tab.
3. Download the **Identity Provider Metadata XML** (open the XML file URL and save the it in XML format)
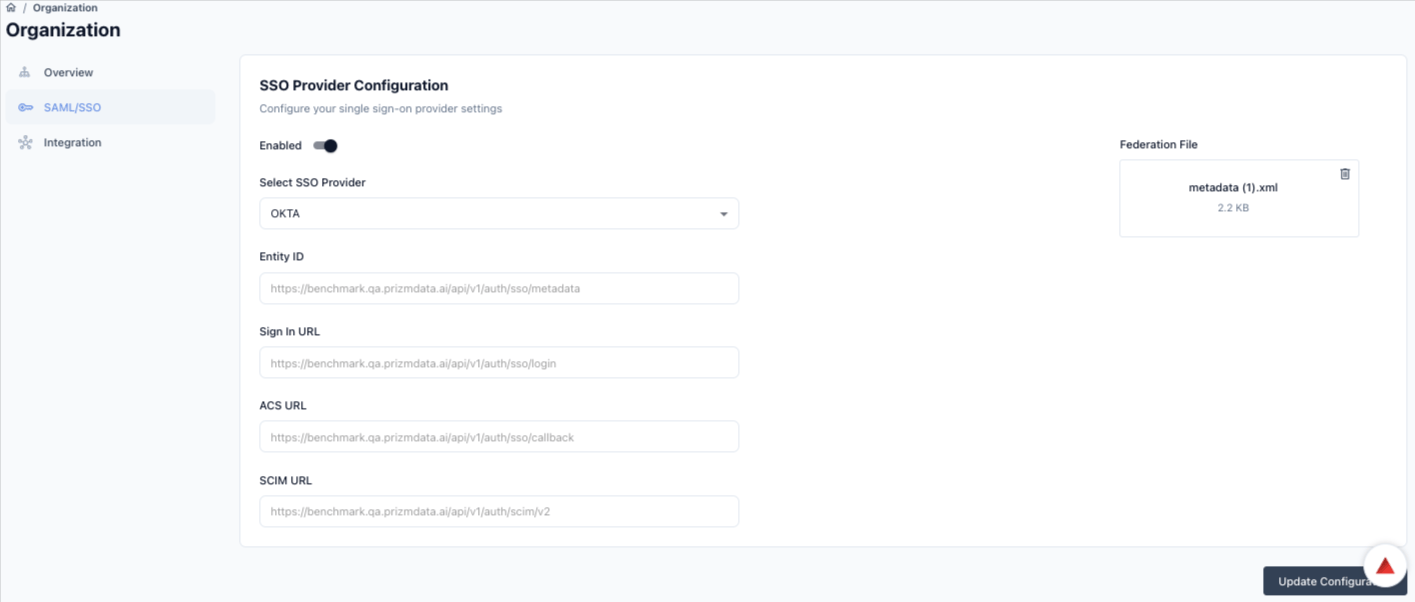
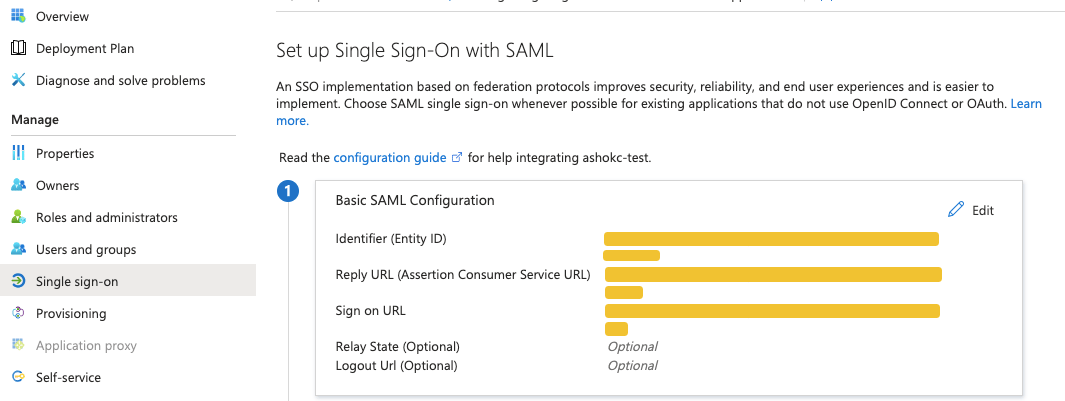
4. In PRIZM, navigate to: **Profile → Organization → SSO/SAML**
5. Enable **Single Sign-On**.
6. Select **Okta** as the Identity Provider.
7. Upload the Metadata XML.
8. Click **Update Configuration**.
>
>
>
## Step 2: Configure PRIZM
1. In Okta, open the PRIZM application.
2. Navigate to the **Sign On** tab.
3. Download the **Identity Provider Metadata XML** (open the XML file URL and save the it in XML format)
4. In PRIZM, navigate to: **Profile → Organization → SSO/SAML**
5. Enable **Single Sign-On**.
6. Select **Okta** as the Identity Provider.
7. Upload the Metadata XML.
8. Click **Update Configuration**.
>
>  >
## Step 3: Assign Users
In Okta:
* Open the PRIZM application.
* Navigate to **Assignments**.
* Assign the required users or groups.
>
## Step 3: Assign Users
In Okta:
* Open the PRIZM application.
* Navigate to **Assignments**.
* Assign the required users or groups.
 In PRIZM:
Go to the access page and enable SSO for the users.
Users must be assigned before testing SSO.
## Step 4: Test Login
1. Navigate to the PRIZM login page.
2. Enter your corporate email address.
3. Authenticate through Okta.
After successful authentication:
* Existing PRIZM users are signed in.
* New users are automatically created during their first login (JIT provisioning).
* Roles are assigned based on incoming group mappings.
### SCIM Provisioning (Optional)
1. Navigate to **Applications → PRIZM → Provisioning**.
2. Click **Configure API Integration**.
3. Enable **API Integration**.
4. Enter:
* **SCIM Base URL**
* **Bearer Token**
5. Click **Test API Credentials**.
6. Enable provisioning.
7. Assign users or groups.
In PRIZM:
Go to the access page and enable SSO for the users.
Users must be assigned before testing SSO.
## Step 4: Test Login
1. Navigate to the PRIZM login page.
2. Enter your corporate email address.
3. Authenticate through Okta.
After successful authentication:
* Existing PRIZM users are signed in.
* New users are automatically created during their first login (JIT provisioning).
* Roles are assigned based on incoming group mappings.
### SCIM Provisioning (Optional)
1. Navigate to **Applications → PRIZM → Provisioning**.
2. Click **Configure API Integration**.
3. Enable **API Integration**.
4. Enter:
* **SCIM Base URL**
* **Bearer Token**
5. Click **Test API Credentials**.
6. Enable provisioning.
7. Assign users or groups.