
Connecting HashiCorp Vault to Prizm
Before starting, complete the Vault prerequisites to enable App Role authentication and generate a Role ID and Secret ID in your Vault instance.1
Open Integration settings
Navigate to Organization → Integration and click Add to open the channel catalog. Click the Vault filter tab, then click the HashiCorp tile to open the configuration form.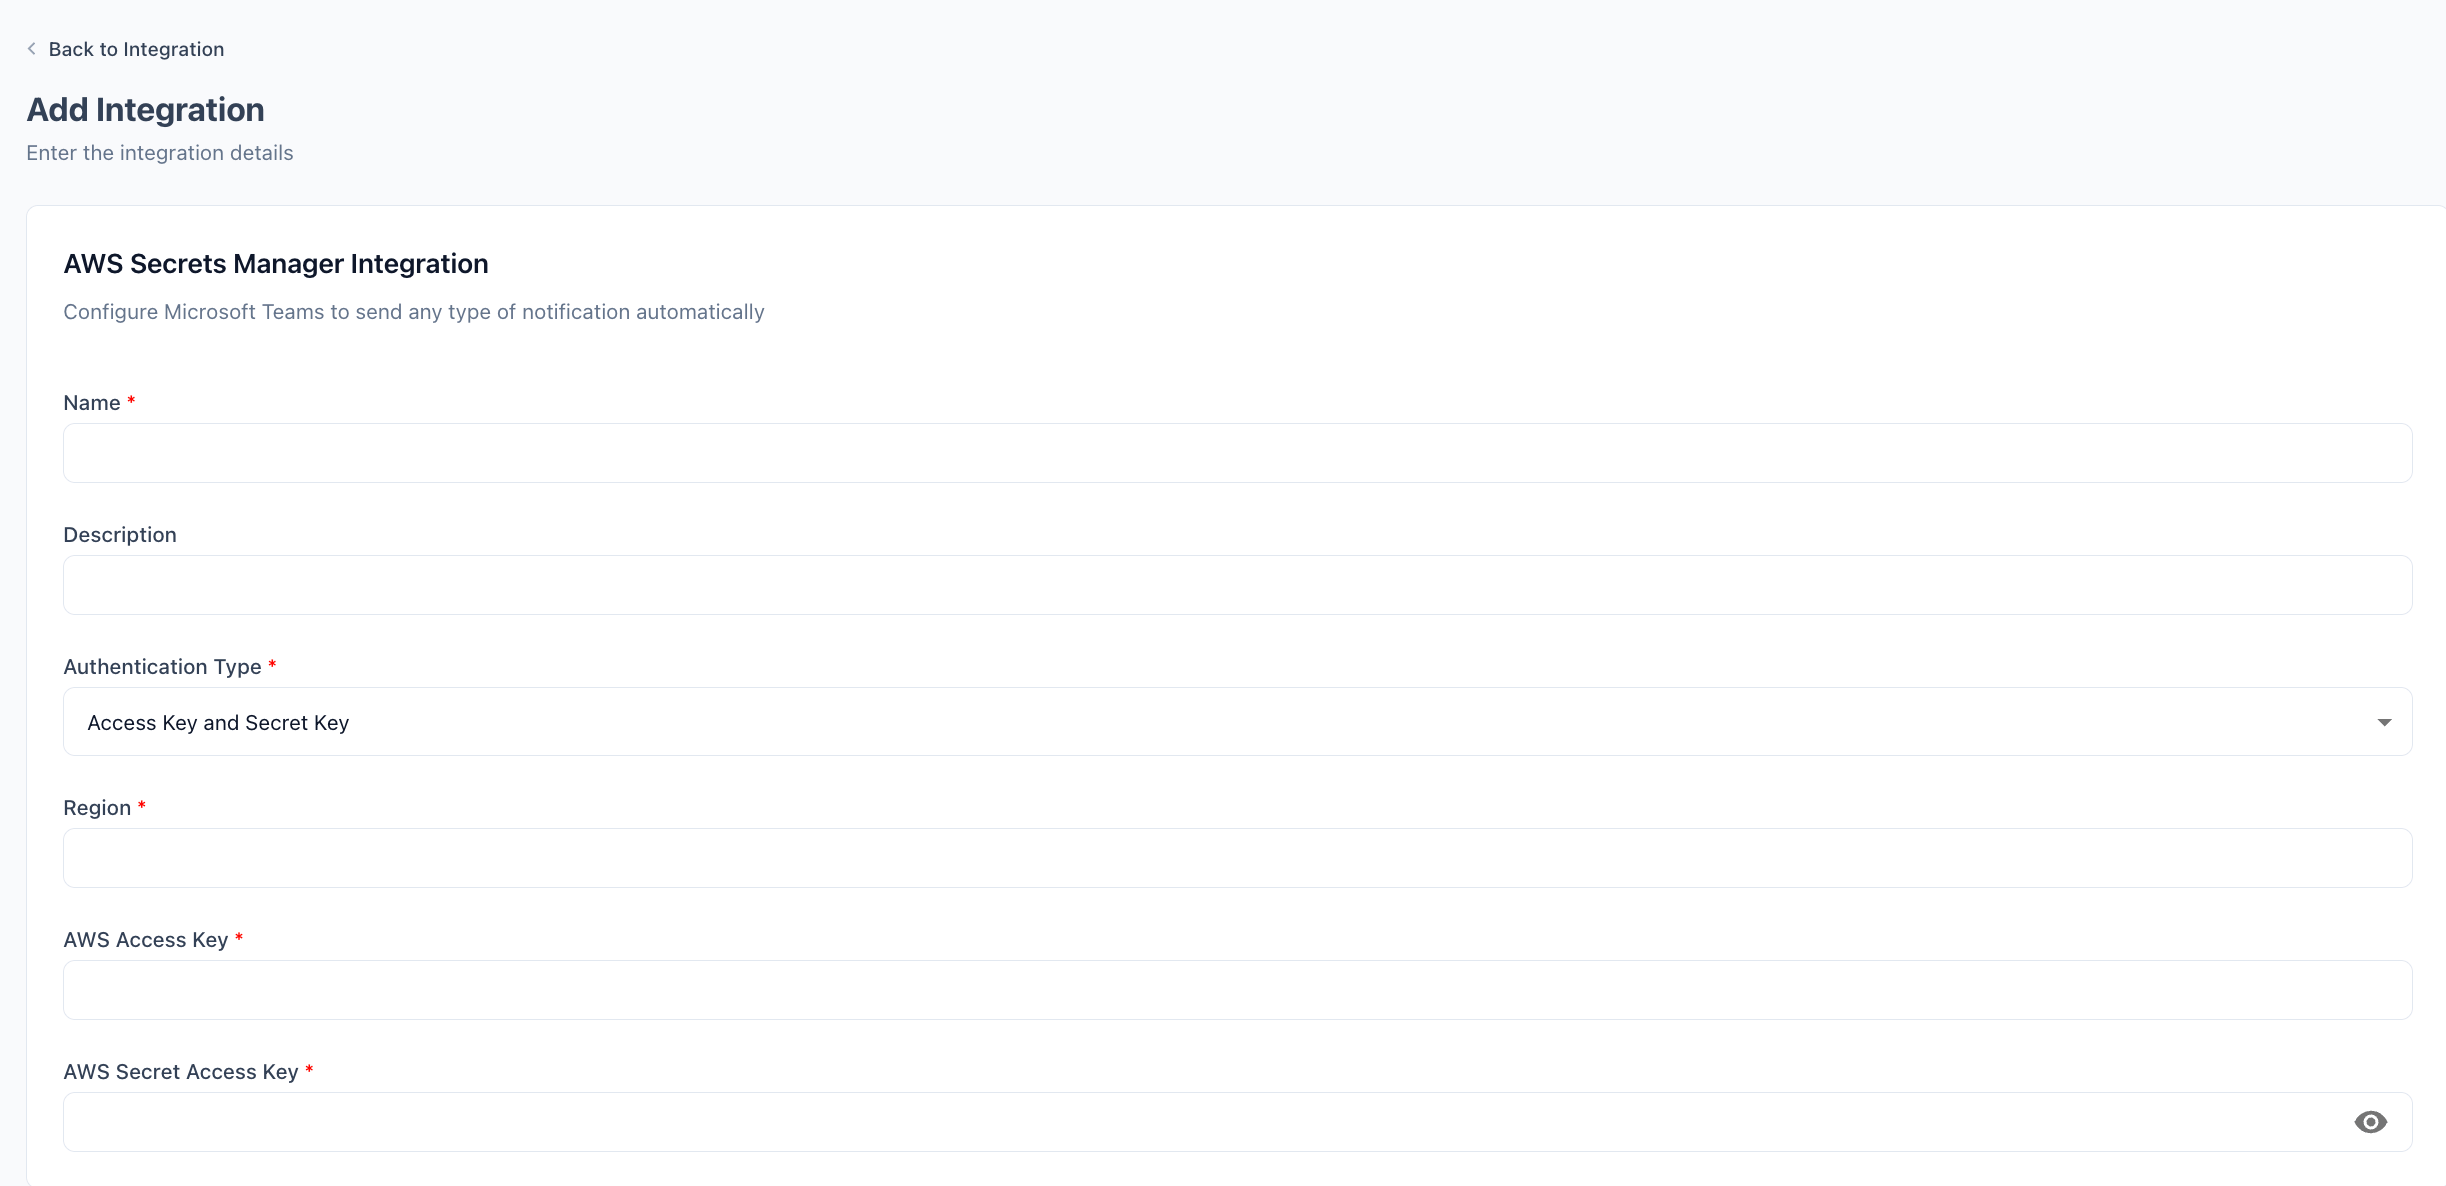
2
Enter a name and optional description
Enter a display Name for this vault connection (e.g.,
Production Vault). Optionally add a Description to distinguish it from other vault integrations.3
Enter the Vault address
Enter the full URL of your Vault instance in Vault Address, including the port if non-standard:
- HCP Vault: Your HCP Vault public cluster address (e.g.,
https://vault-cluster.vault.hashicorp.cloud:8200) - Self-hosted:
https://vault.yourcompany.com:8200
4
Select authentication type and namespace
Authentication Type is pre-set to App Role. If you use HashiCorp Vault Enterprise with namespace isolation, enter the namespace in Namespace (e.g.,
admin). Leave blank for community or HCP Vault.5
Enter Role ID and Secret ID
Paste the Role ID and Secret ID from the prerequisites step.
6
Enter the secret engine (optional)
If your secrets are stored under a non-default KV mount point (e.g.,
kv instead of secret), enter it in Secret Engine. Leave blank to use the default path.7
Save the configuration
Click Update Integration. Prizm authenticates with Vault and confirms it can reach the configured paths.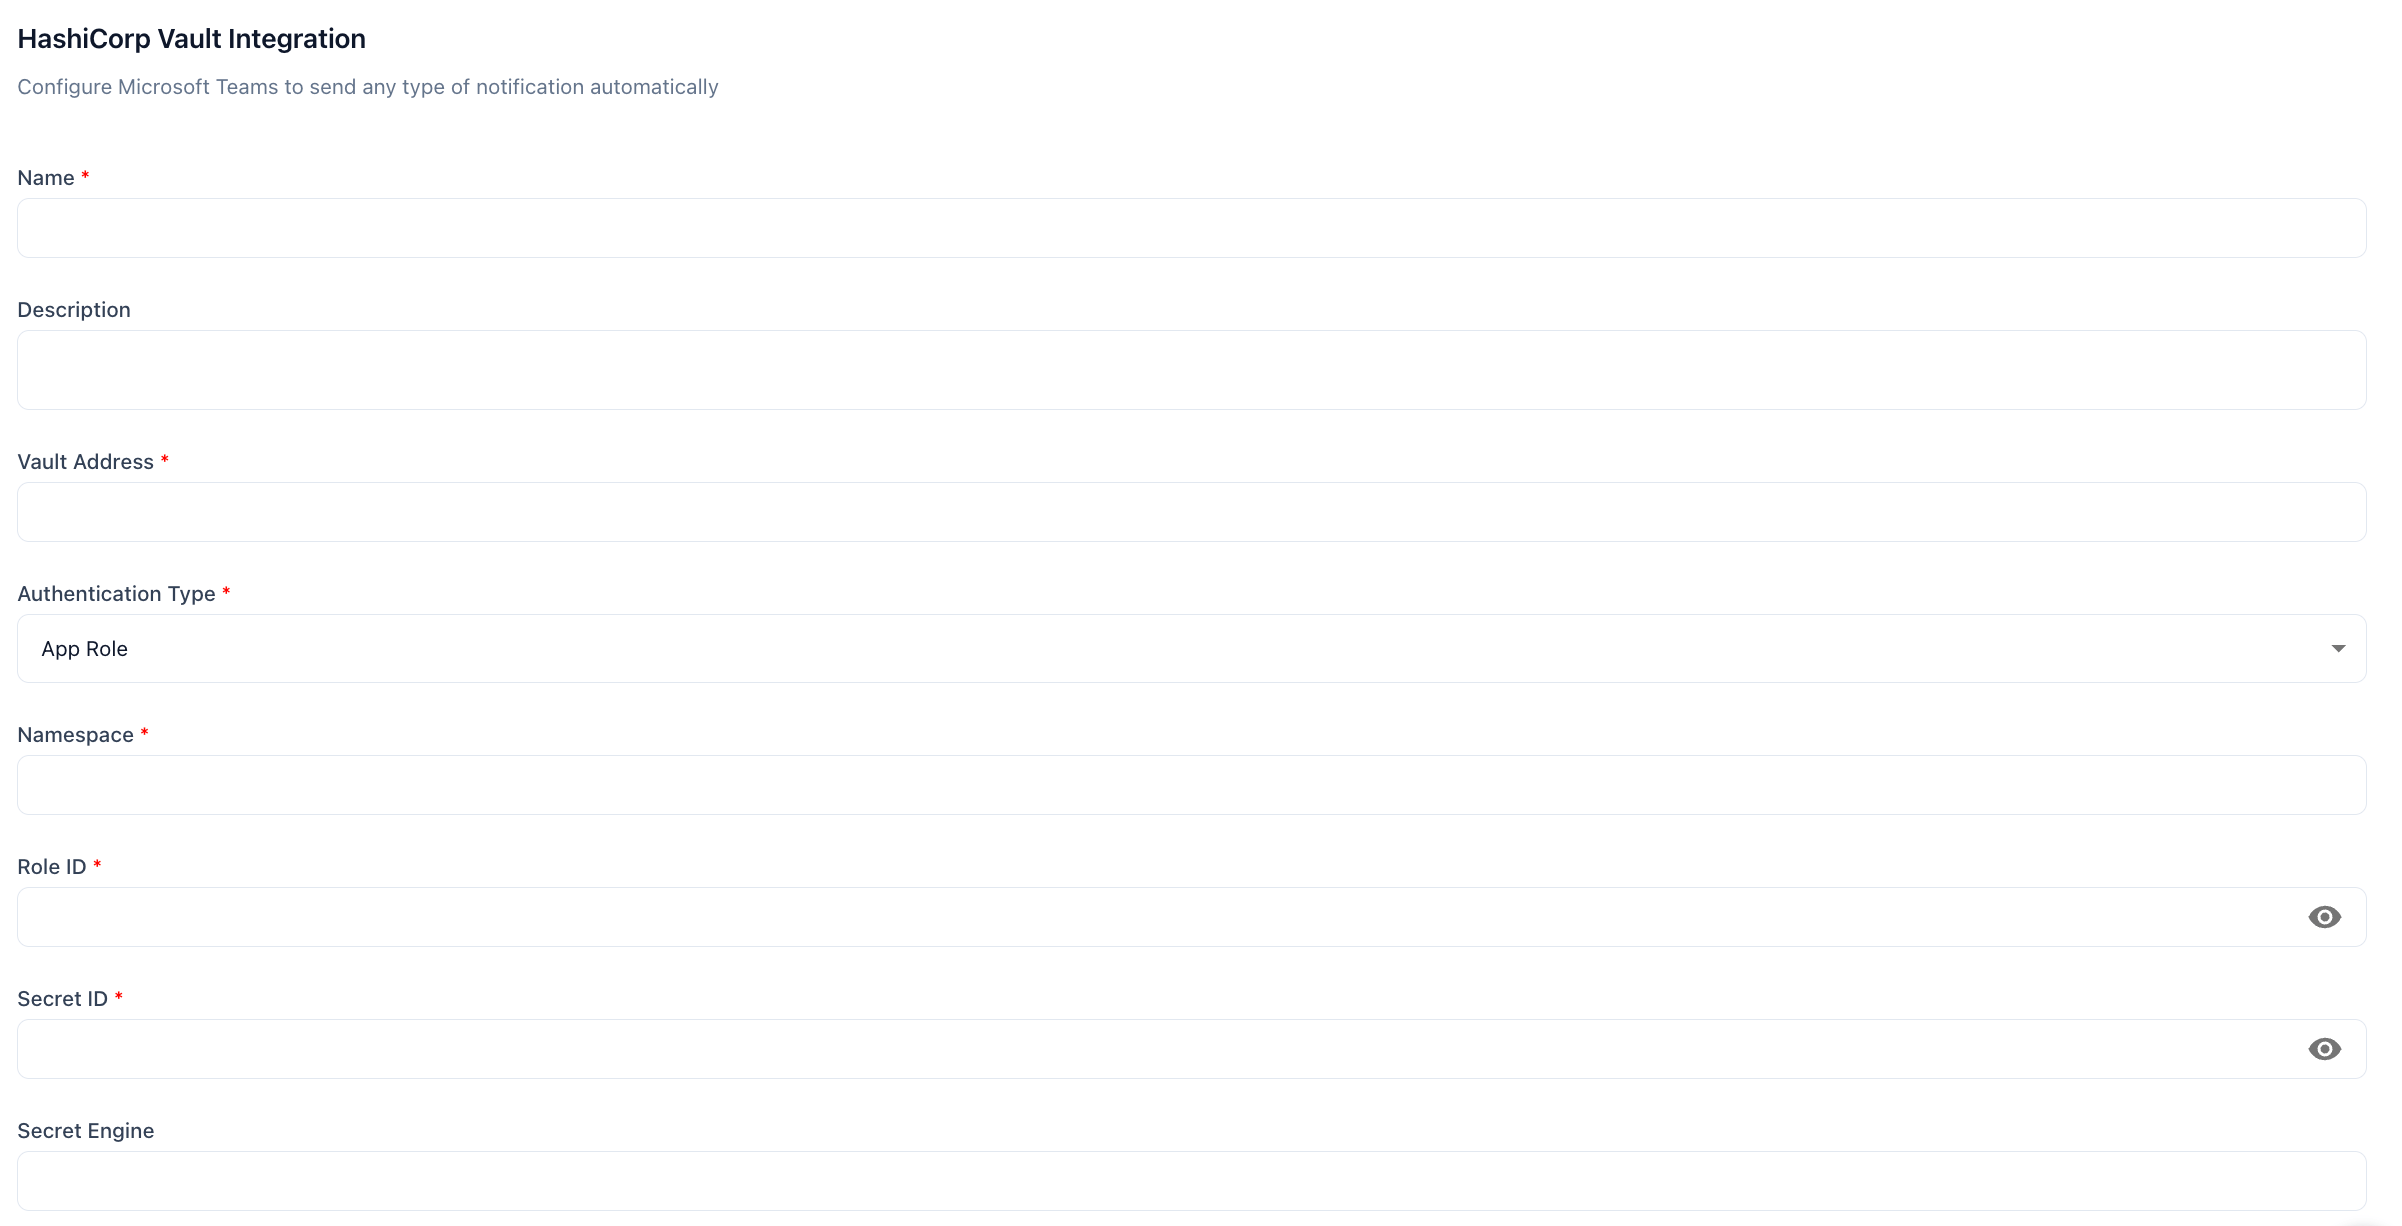
Configuration reference
When you rotate the Secret ID in Vault, update it in Prizm before invalidating the old one to avoid connector authentication failures.