
Before you begin
Complete the following in ServiceNow before configuring the integration in Prizm.1. ServiceNow Instance
Have your instance URL ready (e.g.,https://<instance>.service-now.com) and know your environment — Development, Test, UAT, or Production.
2. Integration User
Create a dedicated integration user in ServiceNow for Prizm. Do not reuse a personal account.- Assign the user at minimum the
itilrole (allows creating and updating incidents via the Table API) - Ensure REST API access is enabled for the user
- Ensure the user has read/write permissions for the
incidenttable
3. Authentication
Choose an authentication method and have credentials ready:
To create an OAuth application in ServiceNow: navigate to System OAuth → Application Registry → New → Create an OAuth API endpoint for external clients.
Step 1: Open Integration settings
Navigate to Organization → Integration and click the + button to open the Channels catalog. Select the ServiceNow tile to open the configuration form.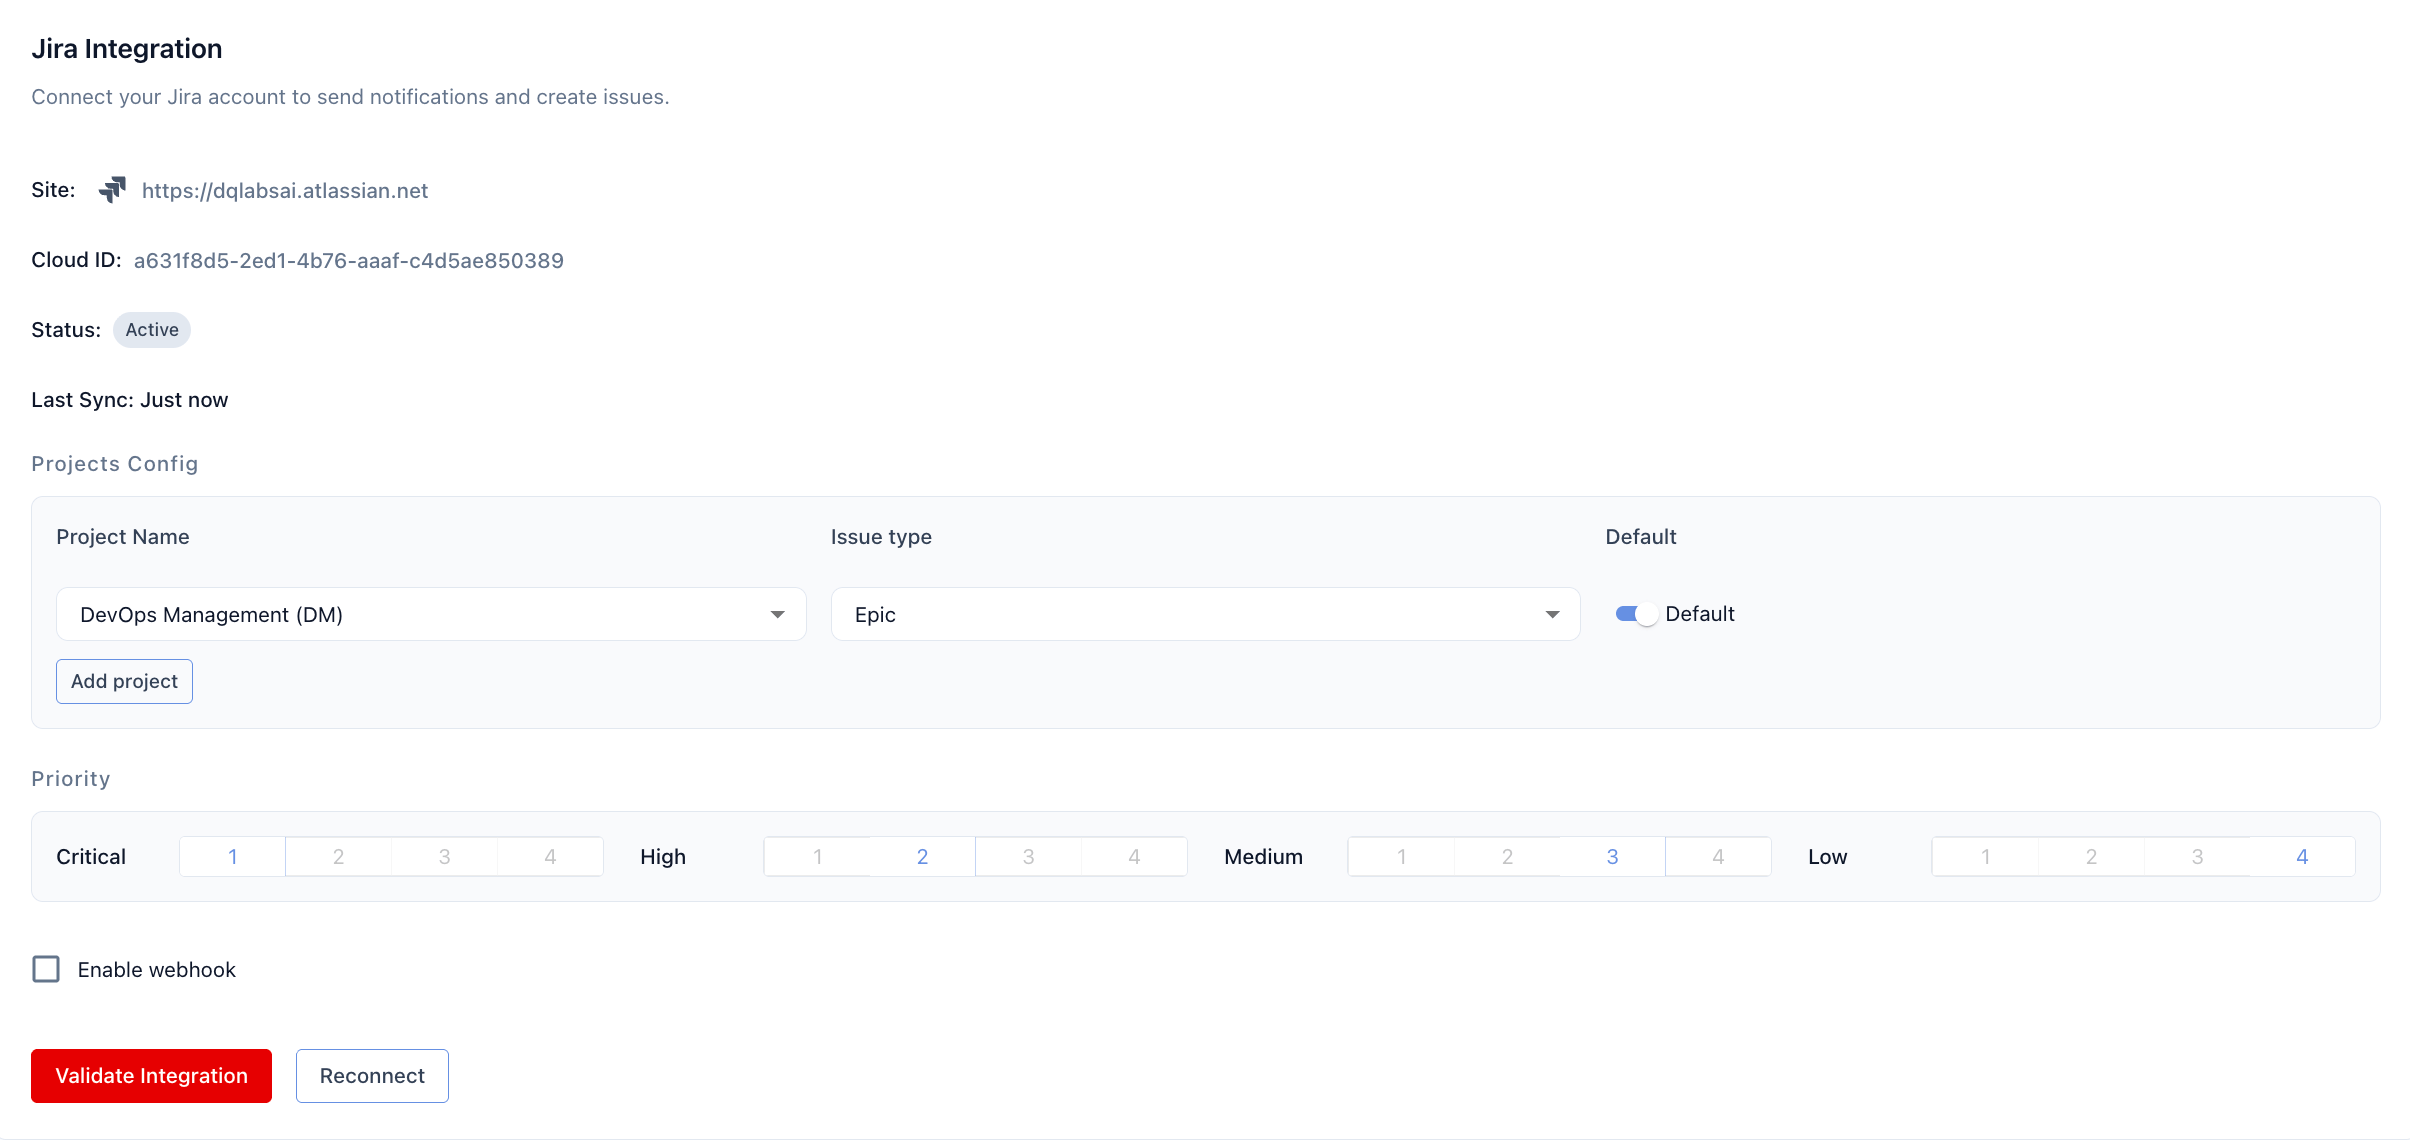
Step 2: Enter instance details and credentials
1
Enter the API URL and instance name
Enter the full base URL of your ServiceNow instance in API URL (e.g.,
https://yourinstance.service-now.com/). Enter just the instance subdomain in Instance (e.g., yourinstance).2
Enter credentials
Enter the User Name and Password for your ServiceNow service account. To retrieve credentials from a connected vault instead, enable Use Vault and enter the vault secret path. The vault integration must already be configured and active in Prizm.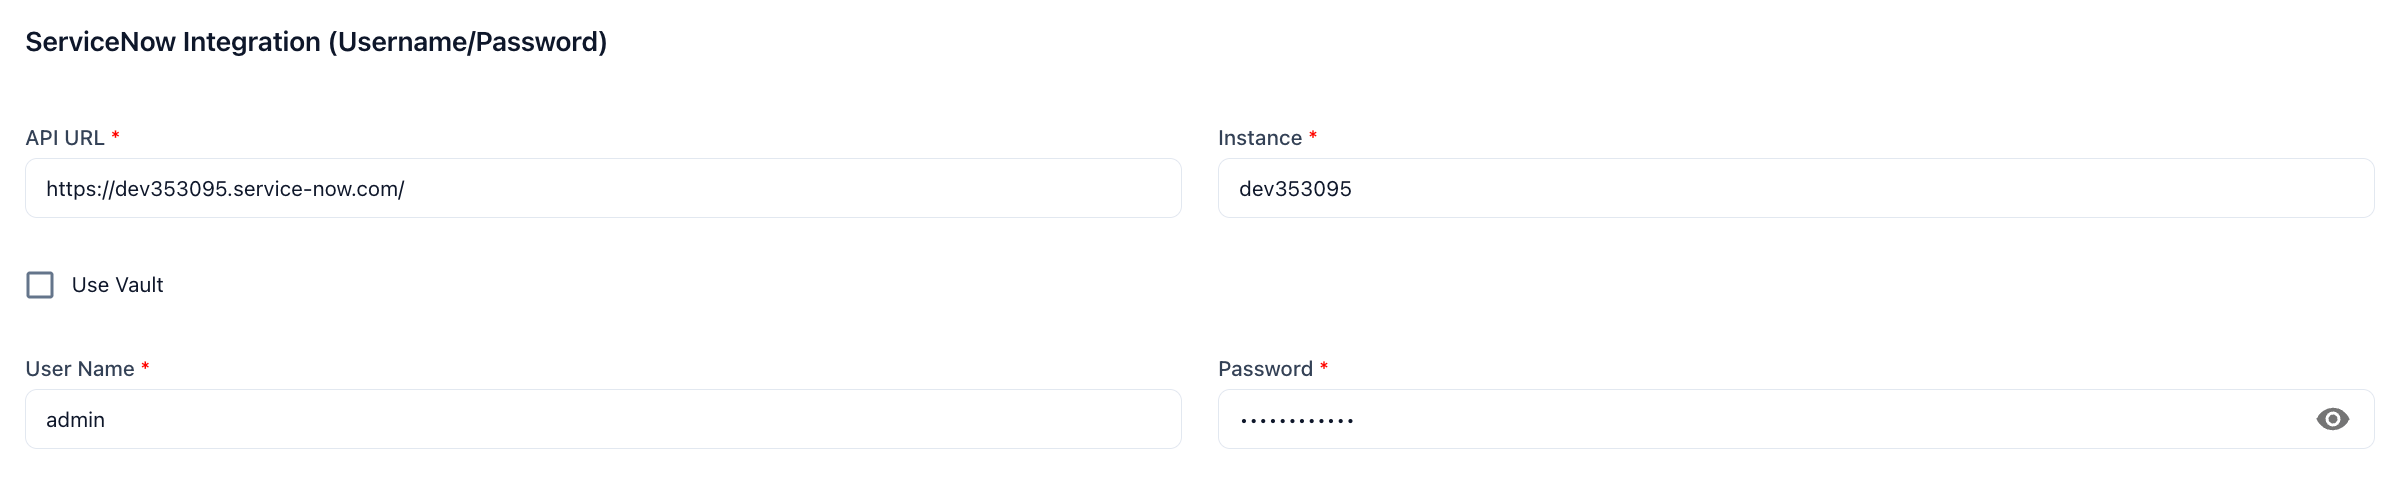
Step 3: Configure issue and alert routing
1
Enable issue routing
Check the Issue checkbox to send Prizm issues to ServiceNow as incidents. Use the Priority selector (C / H / M / L) to control which severity levels create ServiceNow records. For example, enabling only C and H routes only Critical and High issues to ServiceNow. Optionally enter an Issue Endpoint URL to target a specific ServiceNow table or scripted endpoint instead of the default incident table.
2
Enable alert routing
Check the Alert checkbox to send Prizm alerts to ServiceNow. Configure Priority and an optional Alert Endpoint URL the same way as issues.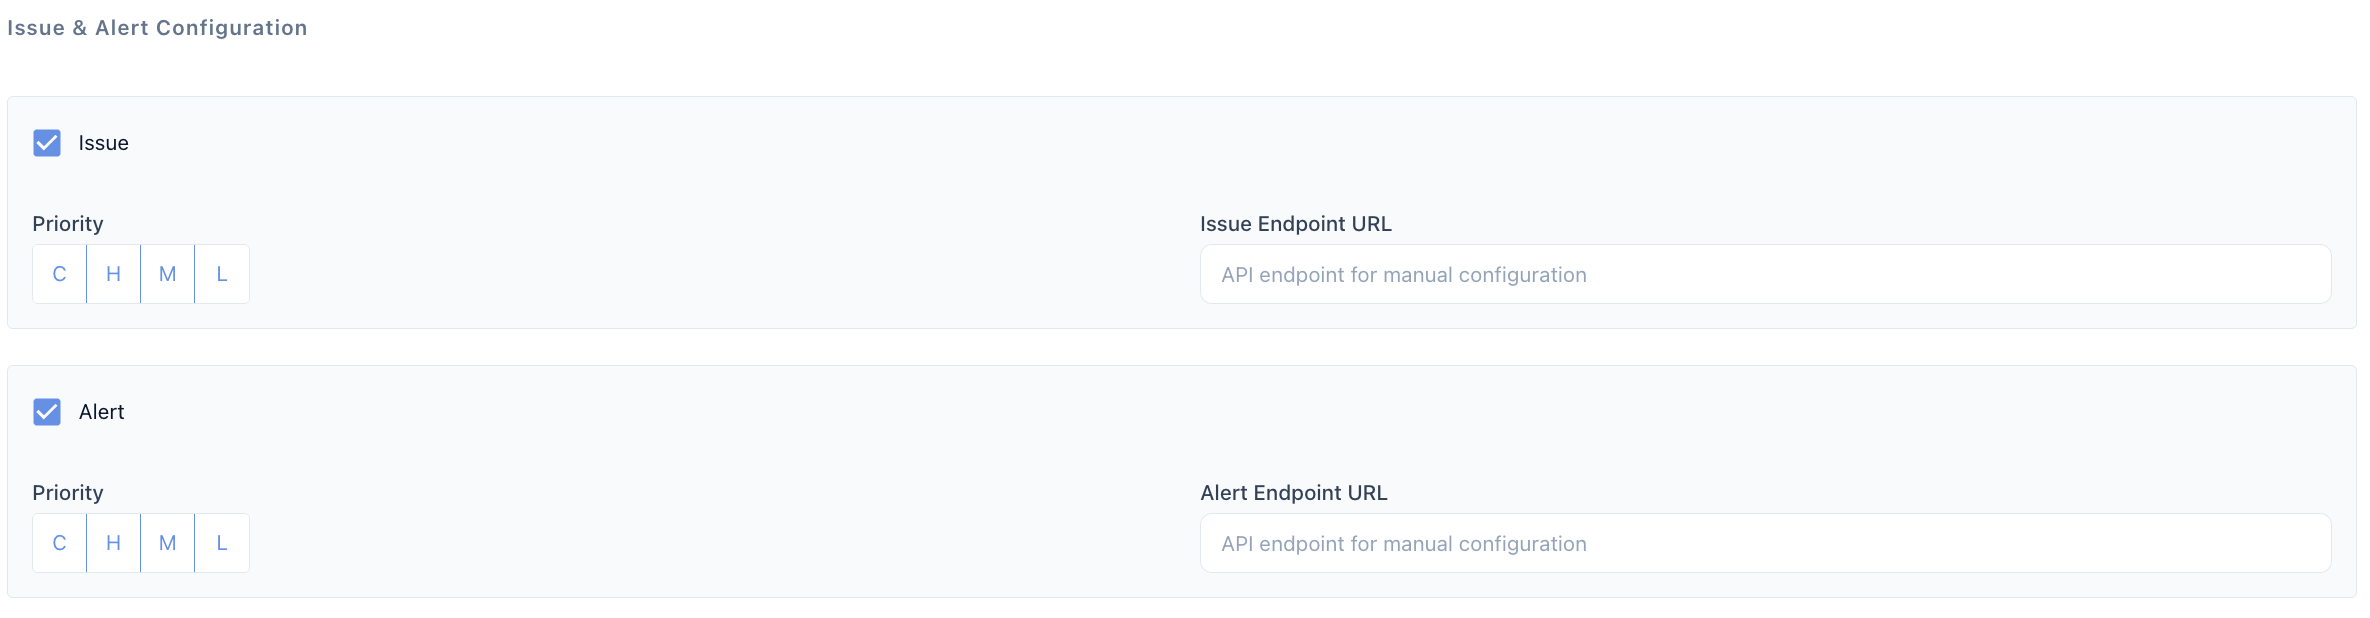
Step 4: Configure mandatory fields (optional)
ServiceNow instances often require custom fields when creating incidents — for example, assignment group, category, or business service. Use the Mandatory Fields configuration to specify field name and value pairs that Prizm includes in every incident payload. This prevents incidents from failing to create due to missing required fields in your ServiceNow configuration.Step 5: Enable webhook for bidirectional sync
Check Enable Webhook to allow ServiceNow to push status changes, comments, priority updates, and resolution data back to Prizm in real time. After clicking Update Integration, Prizm generates a Webhook URL. You’ll use this URL in the ServiceNow configuration below.Configure the webhook in ServiceNow
Step 5a — Create the REST Message
Navigate to System Web Services → Outbound → REST Message and create a new record. Open the record and add a new POST HTTP Method under the Request Content tab. Paste the following payload template and save:The
${...} placeholders are ServiceNow template variables populated by the Business Rule script below. Do not replace them manually.Step 5b — Create the Business Rule on the Incident table
Navigate to System Definition → Business Rules → New and configure:- Table: Incident
- When to Run tab: After → Insert, Update, Delete
- Advanced tab: paste the script below
<Your Prizm Domain> with your actual Prizm webhook URL.
short_description, state, priority, urgency, comments, close_code, close_notes, resolved_at, resolved_by, closed_at, closed_by.
Step 5c — Caller ID fix (optional)
If incidents created via the Prizm API fail due to a missingcaller_id, add a second Business Rule:
- Table: Incident
- When to Run tab: Before → Insert
Step 5d — Test the webhook
Update a test incident in ServiceNow and confirm the change appears in the linked Prizm issue within a few seconds.If your ServiceNow instance blocks outbound webhooks due to firewall rules, Prizm also supports polling-based sync as a fallback. Contact your Prizm administrator to configure the polling interval.
Step 6: Save and validate
Click Update Integration to save. Use Validate Integration to confirm Prizm can reach your ServiceNow instance and authenticate successfully.Configuration reference
Prizm stores all credentials encrypted at rest. If using Use Vault, configure and validate the vault integration before saving the ServiceNow configuration.