
Creating a conditional metric
1
Add the metric
- Navigate to Metric in the top navigation.
- Click the Add button (⊕).
- Enter a Metric Name.
- Select Subcategory: Conditional from the dropdown.
- Enter a Purpose description.
- Click Create.
2
Open the configuration view
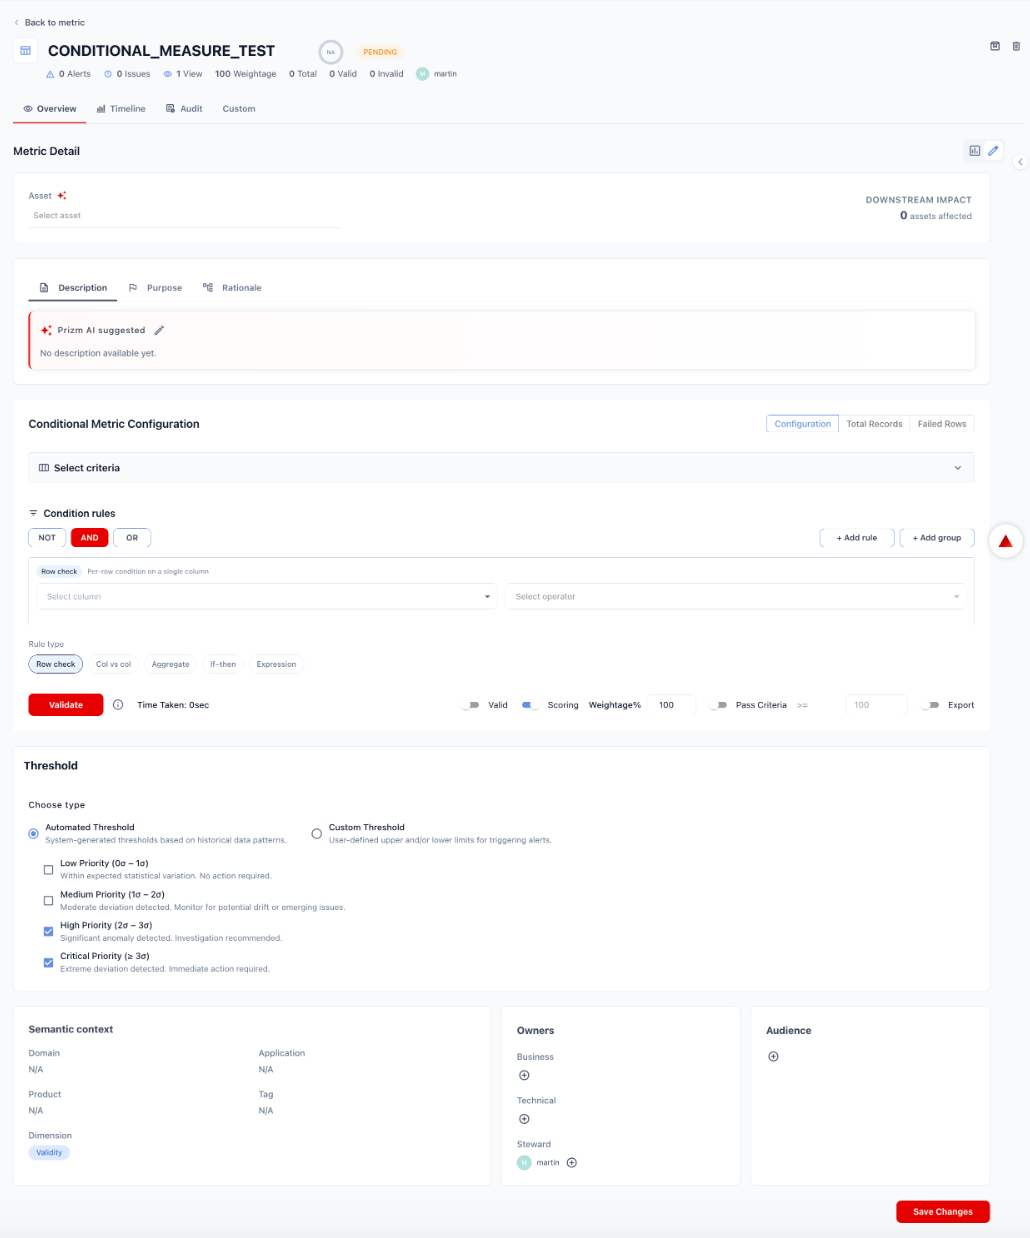
Click the metric name to open its detail page, and provide the following details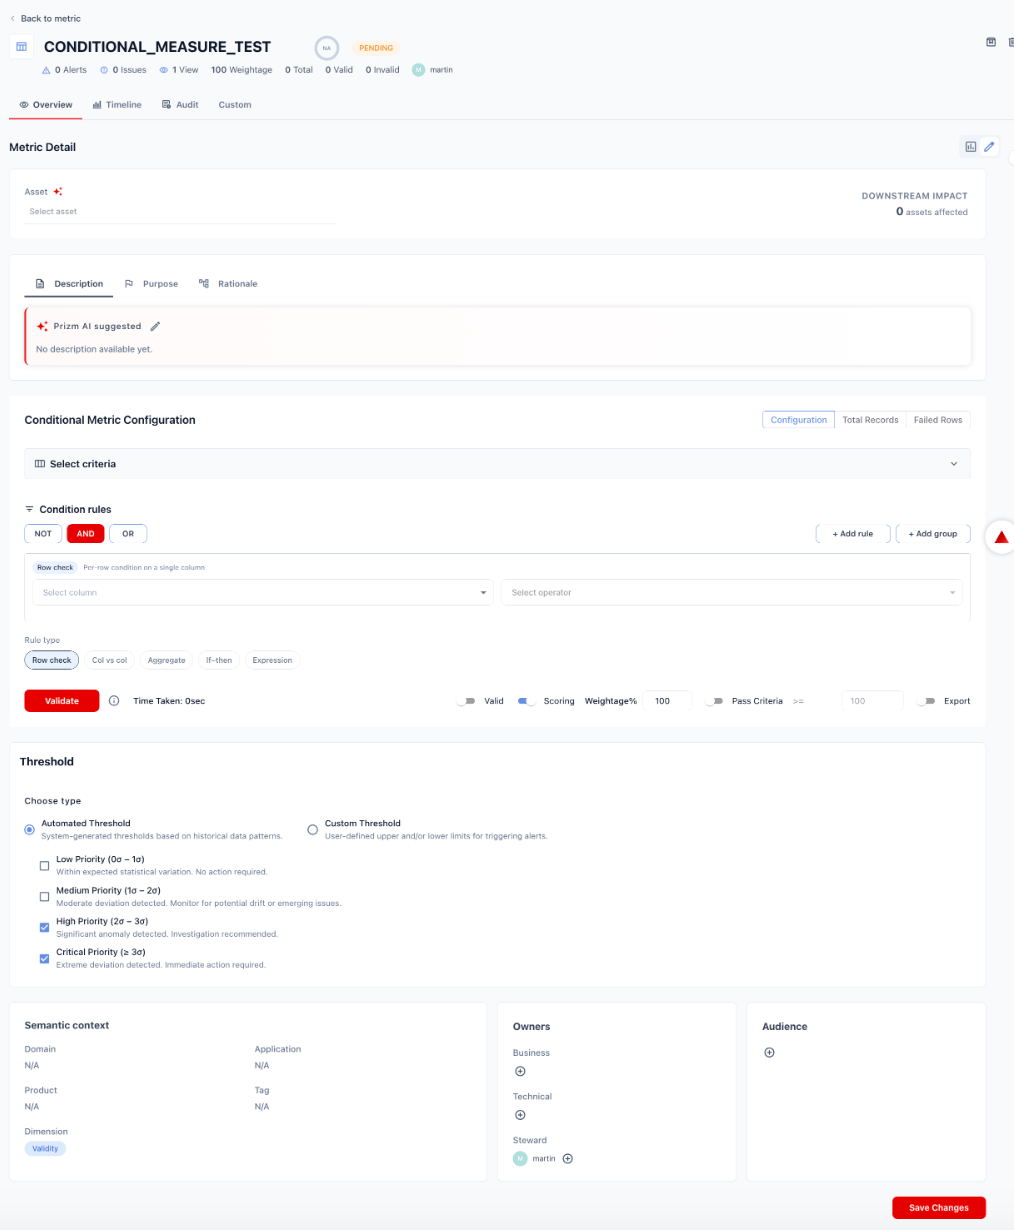
- Asset — the table the metric evaluates
- Metadata tabs — Description, Purpose, Rationale
- Conditional Metric Configuration — three tabs: Configuration, Total Records, Failed Rows
- Threshold
- Semantic context and Owners
3
Set the asset and metadata
Asset: Select the table or view this metric will evaluate. Use the AI-assisted asset selection button to let Prizm suggest an asset based on the metric name and purpose.The Downstream Impact counter shows how many other assets depend on this asset — useful for understanding blast radius.Fill in the metadata tabs as needed:
4
Configure the condition rules (Configuration tab)
The Configuration tab is the core of a conditional metric. It has three sub-sections.
Select criteria
Expand Select criteria to scope which rows are evaluated. By default this usesSELECT * (all rows). Choose between:- All columns — evaluate all columns in the asset
- Selected columns — restrict evaluation to specific columns
Condition rules
Define what “valid” means for each row. Use the logical operators NOT / AND / OR to combine multiple rules. Click + Add rule to add a rule or + Add group to create a nested rule group.Select a Rule type from the toolbar, then click + Add rule. Each rule type exposes different fields:- Row check
- Col vs col
- Aggregate
- If–then
- Expression
Per-row condition on a single column. Validates that each record’s column value meets a specific condition — e.g., 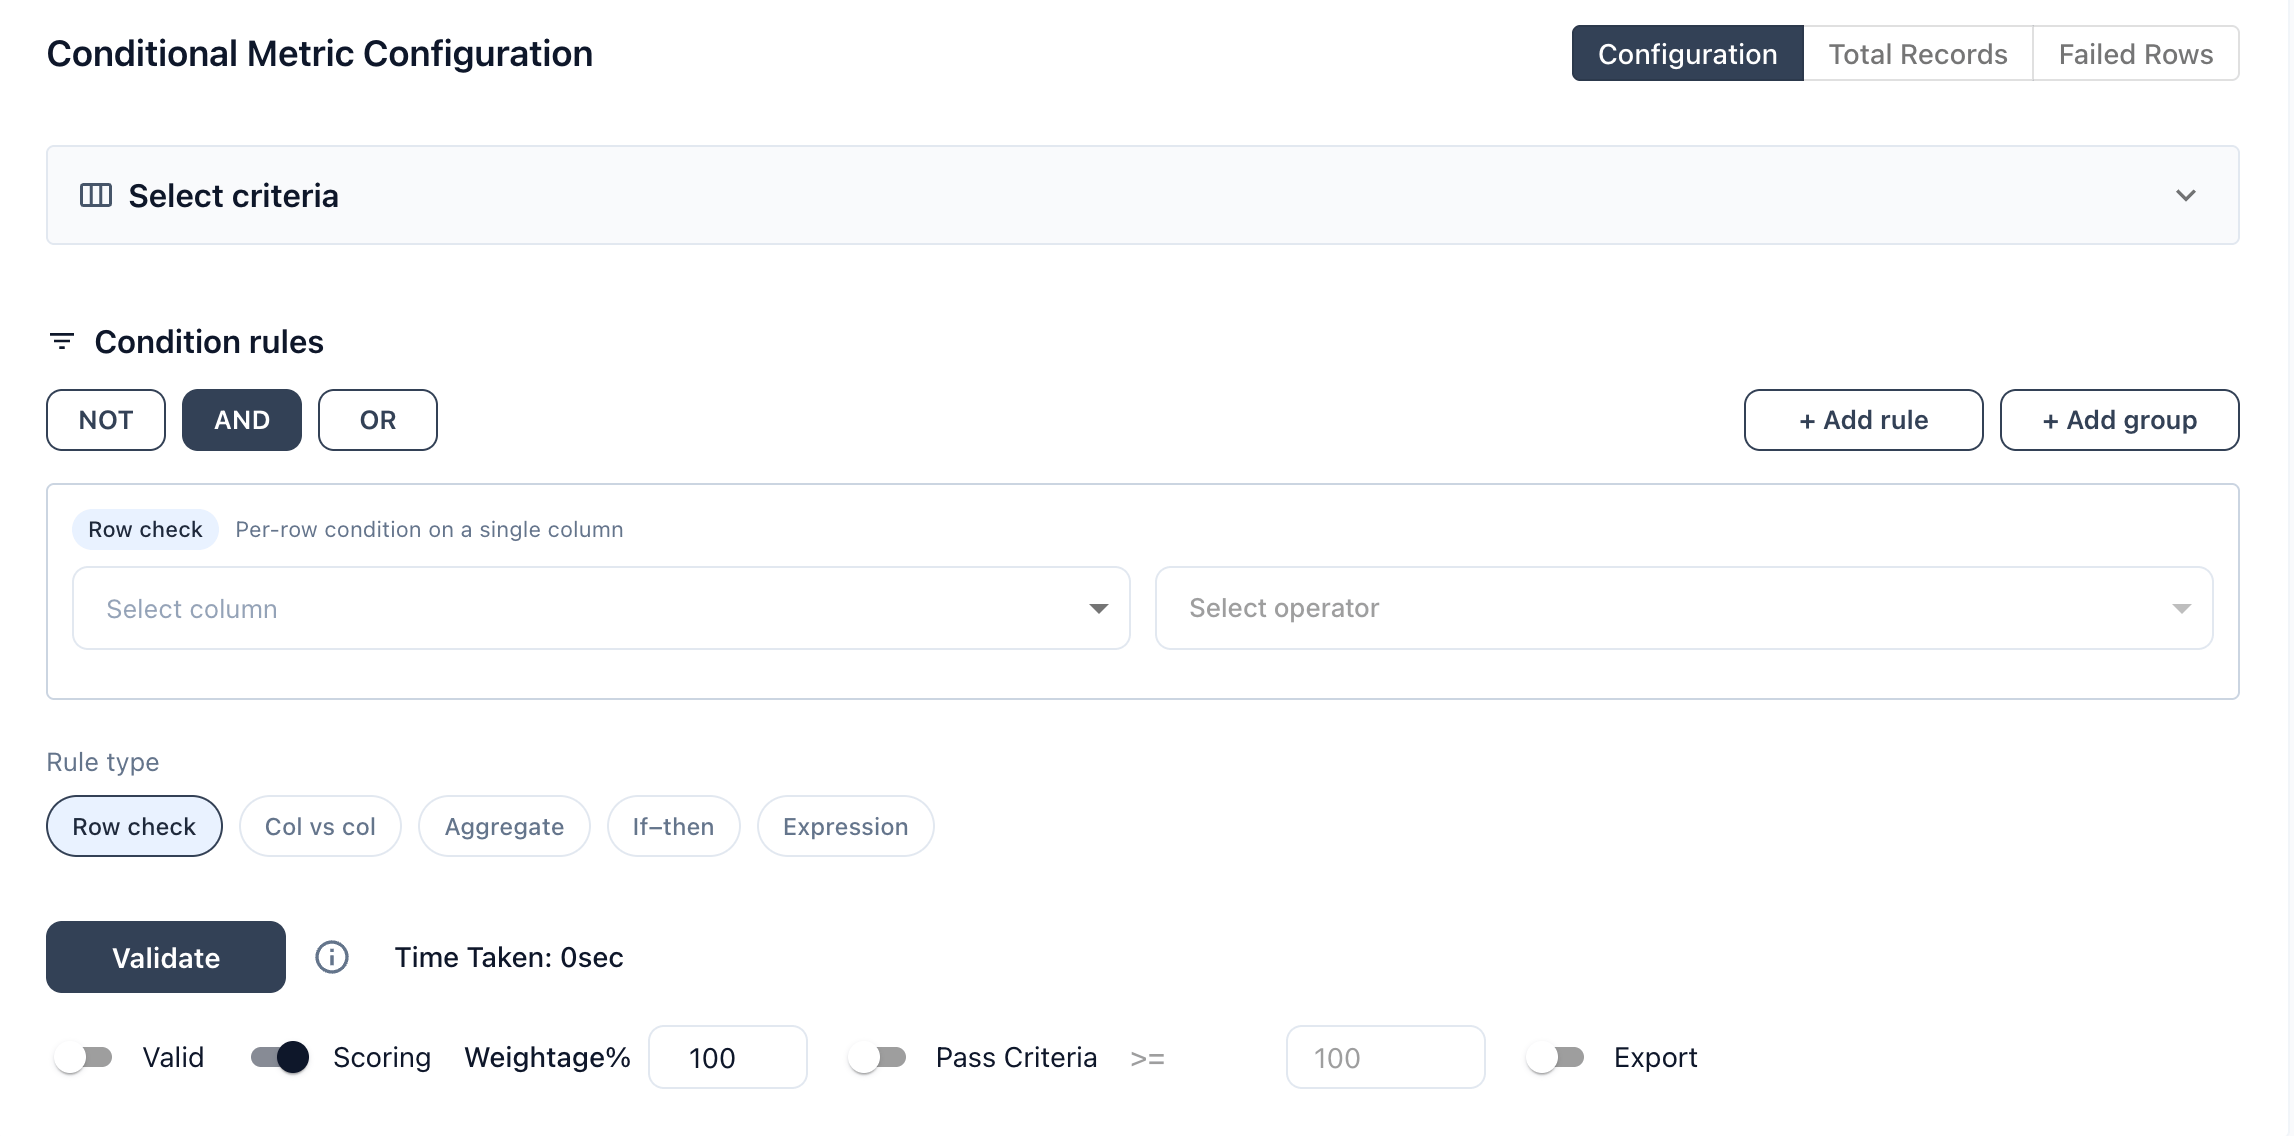
QTY_SOLD Between 10 and 20.- Click Row check in the rule type toolbar.
- Click + Add rule.
- Select column — choose the column to evaluate.
- Select operator — choose the comparison (e.g.,
=,!=,Between,Is Null,Is Not Null). - For range operators (e.g.,
Between), enter a Start value and End value. - For single-value operators, enter the comparison Value.
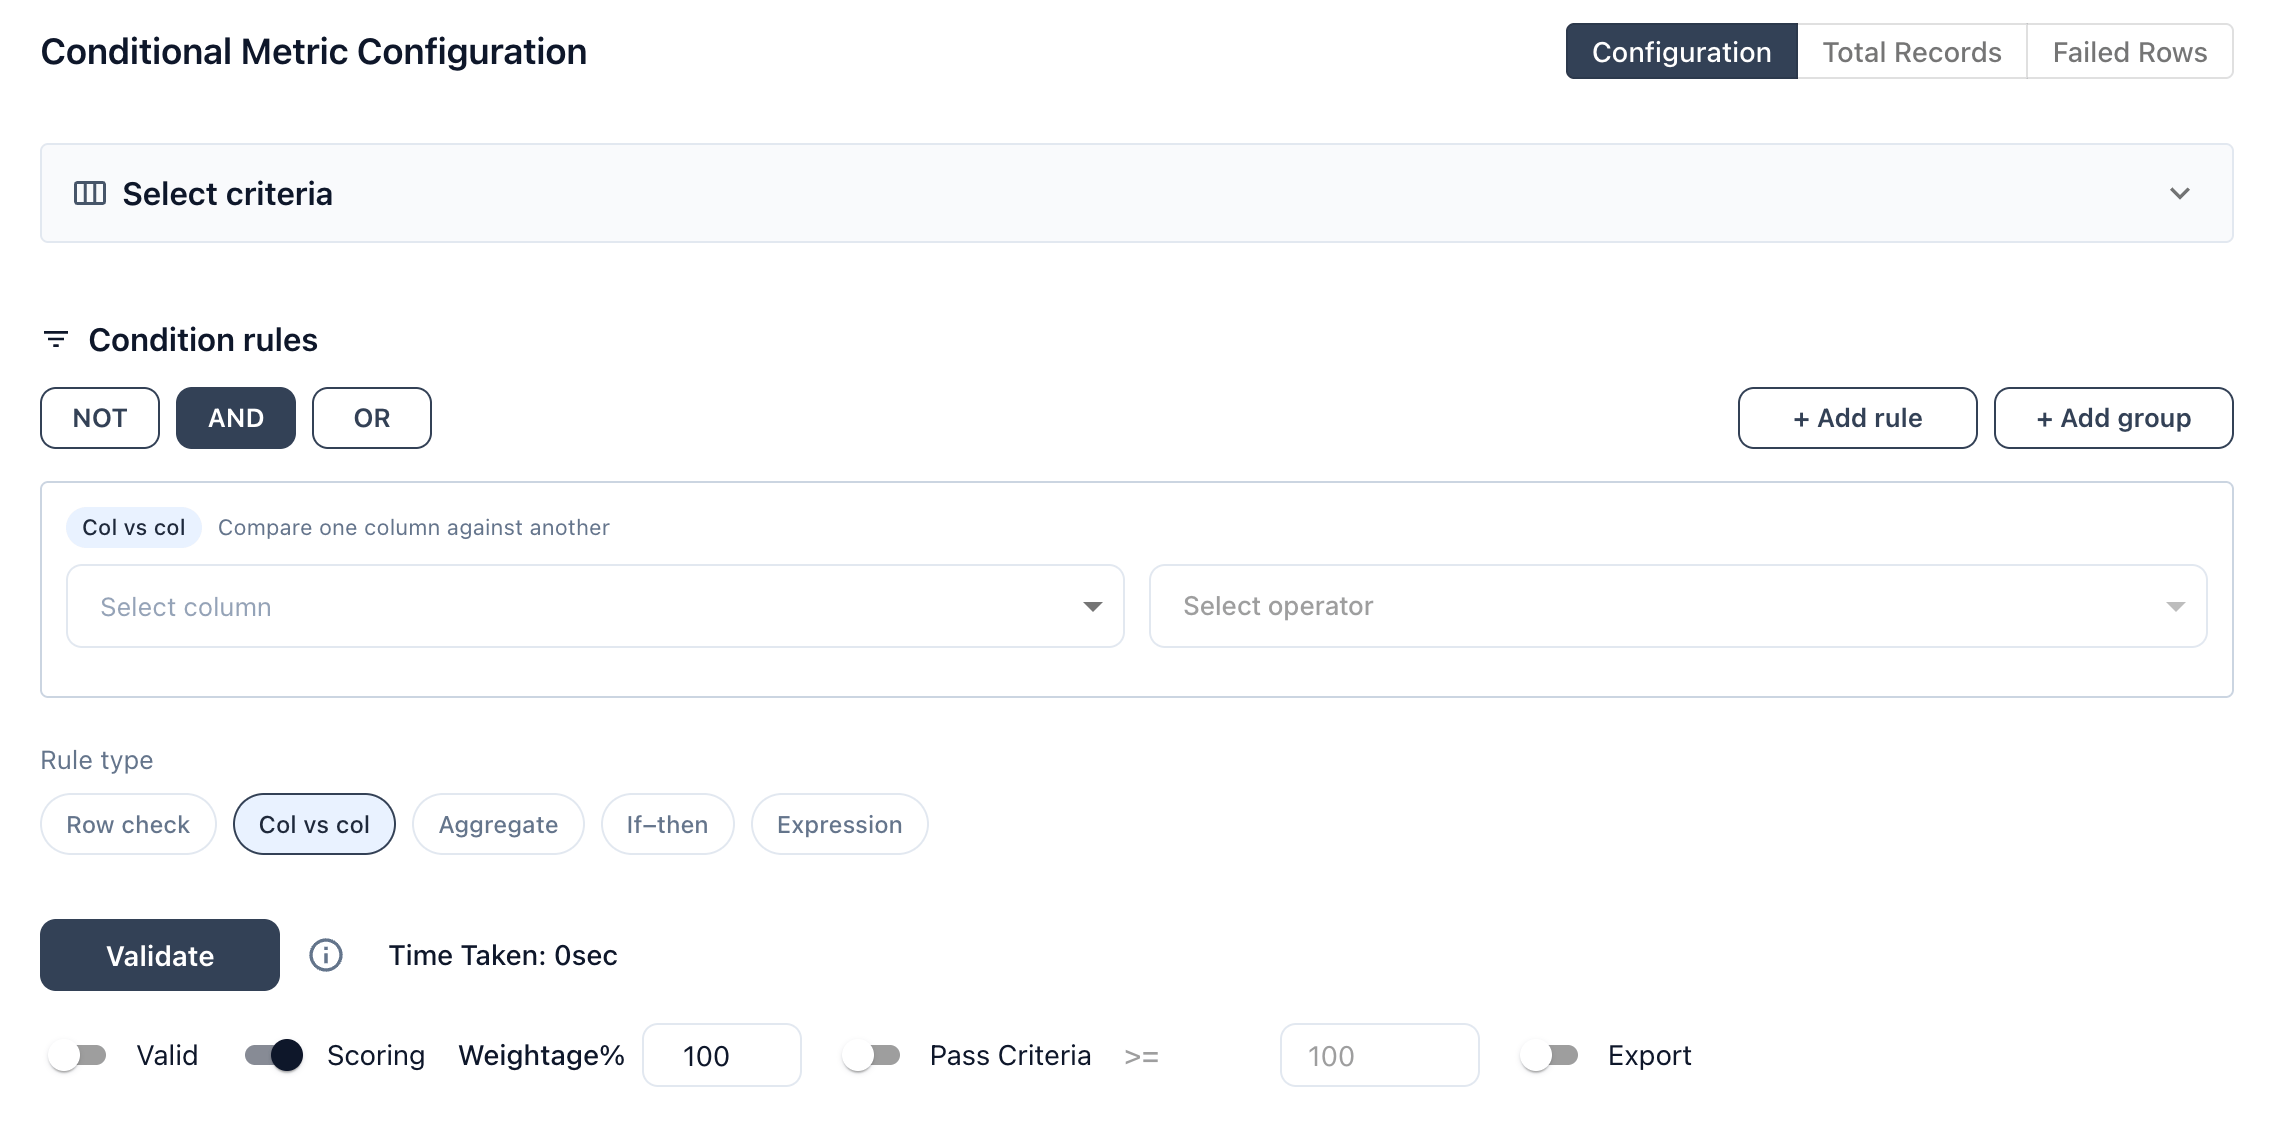
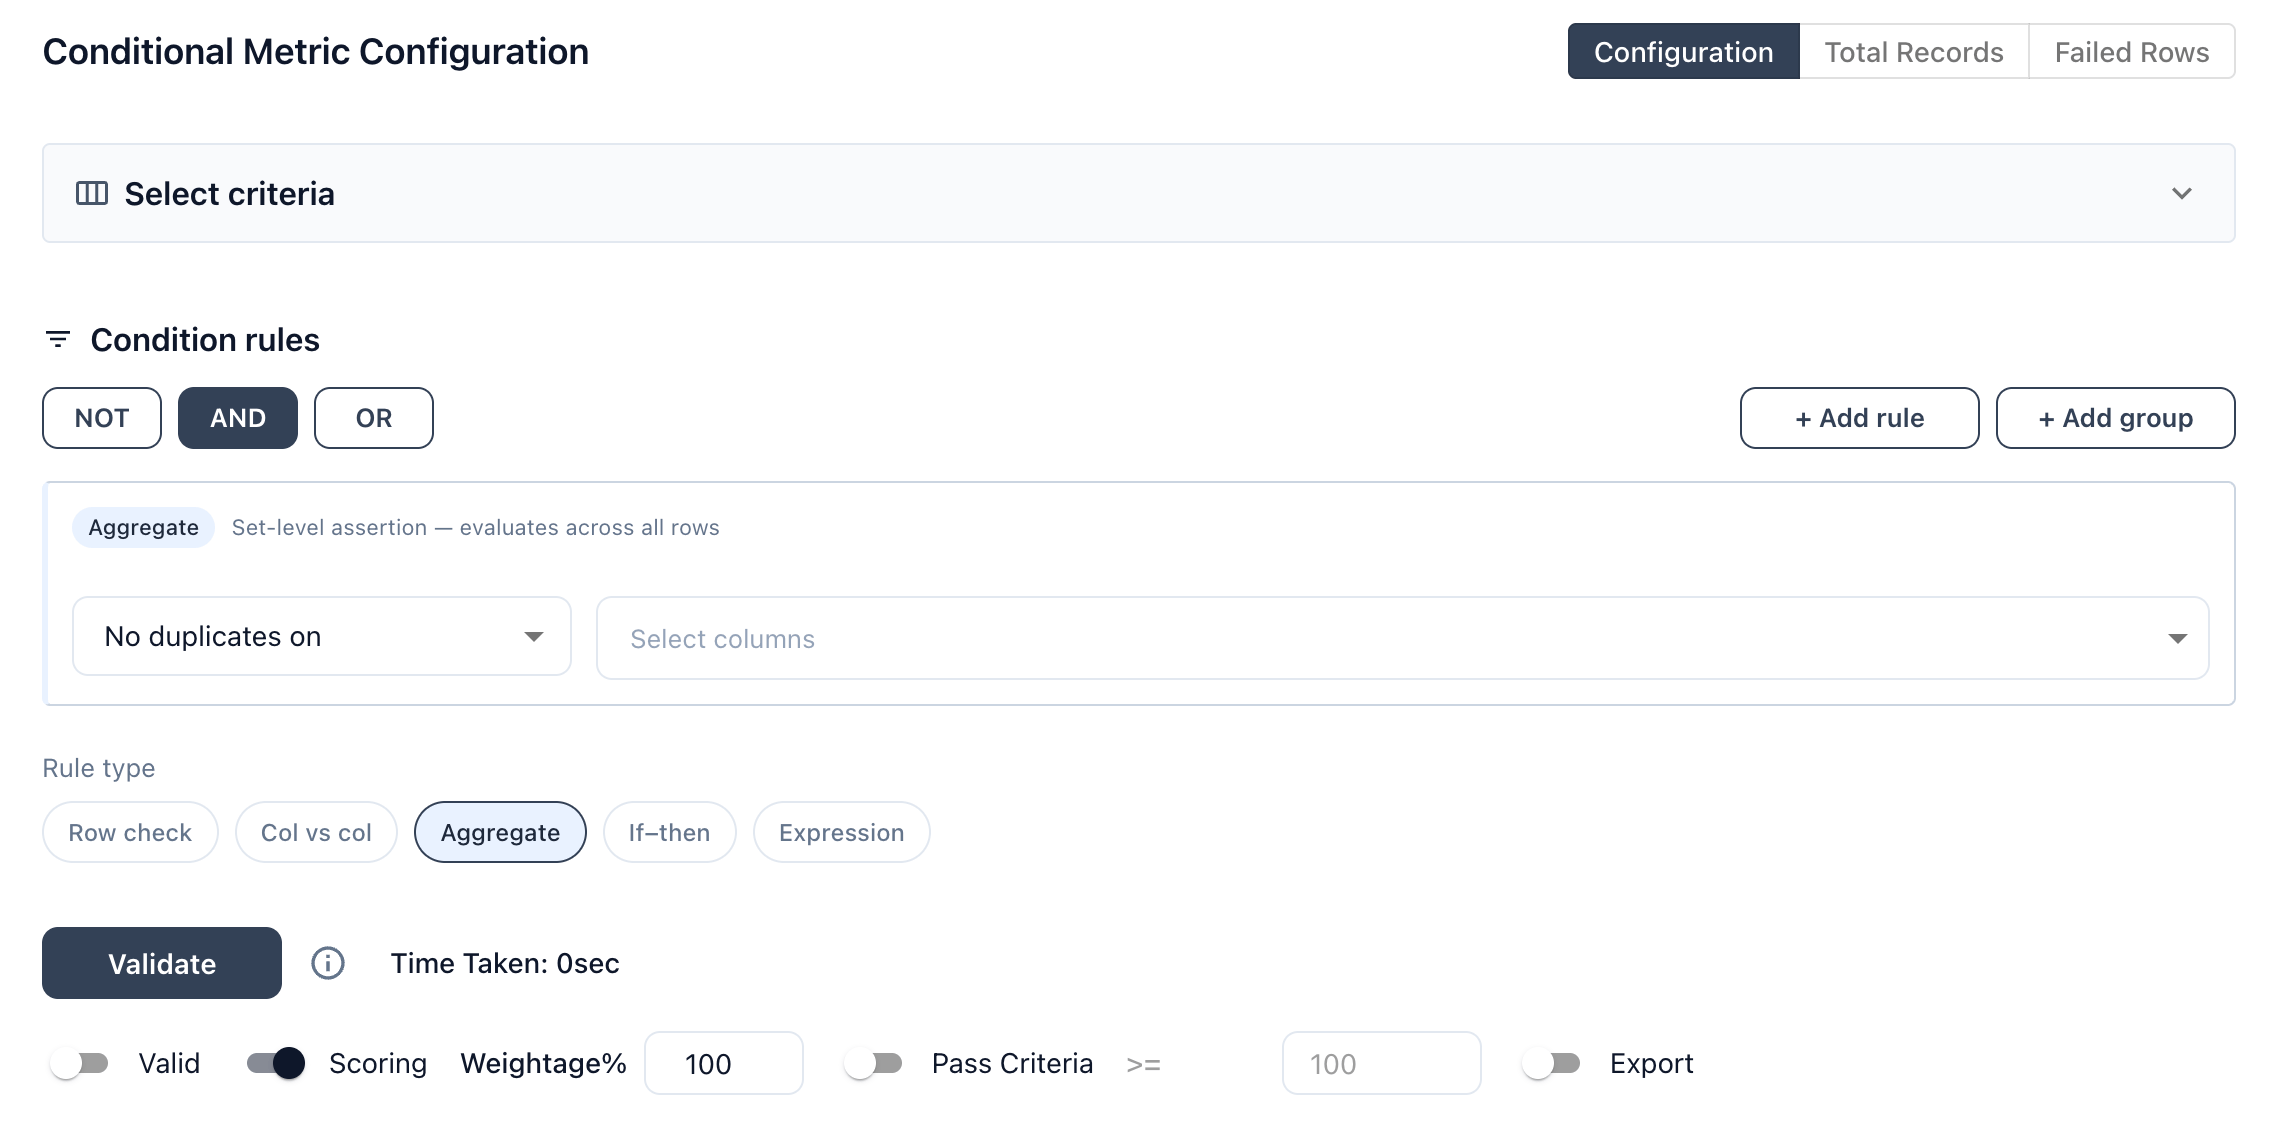
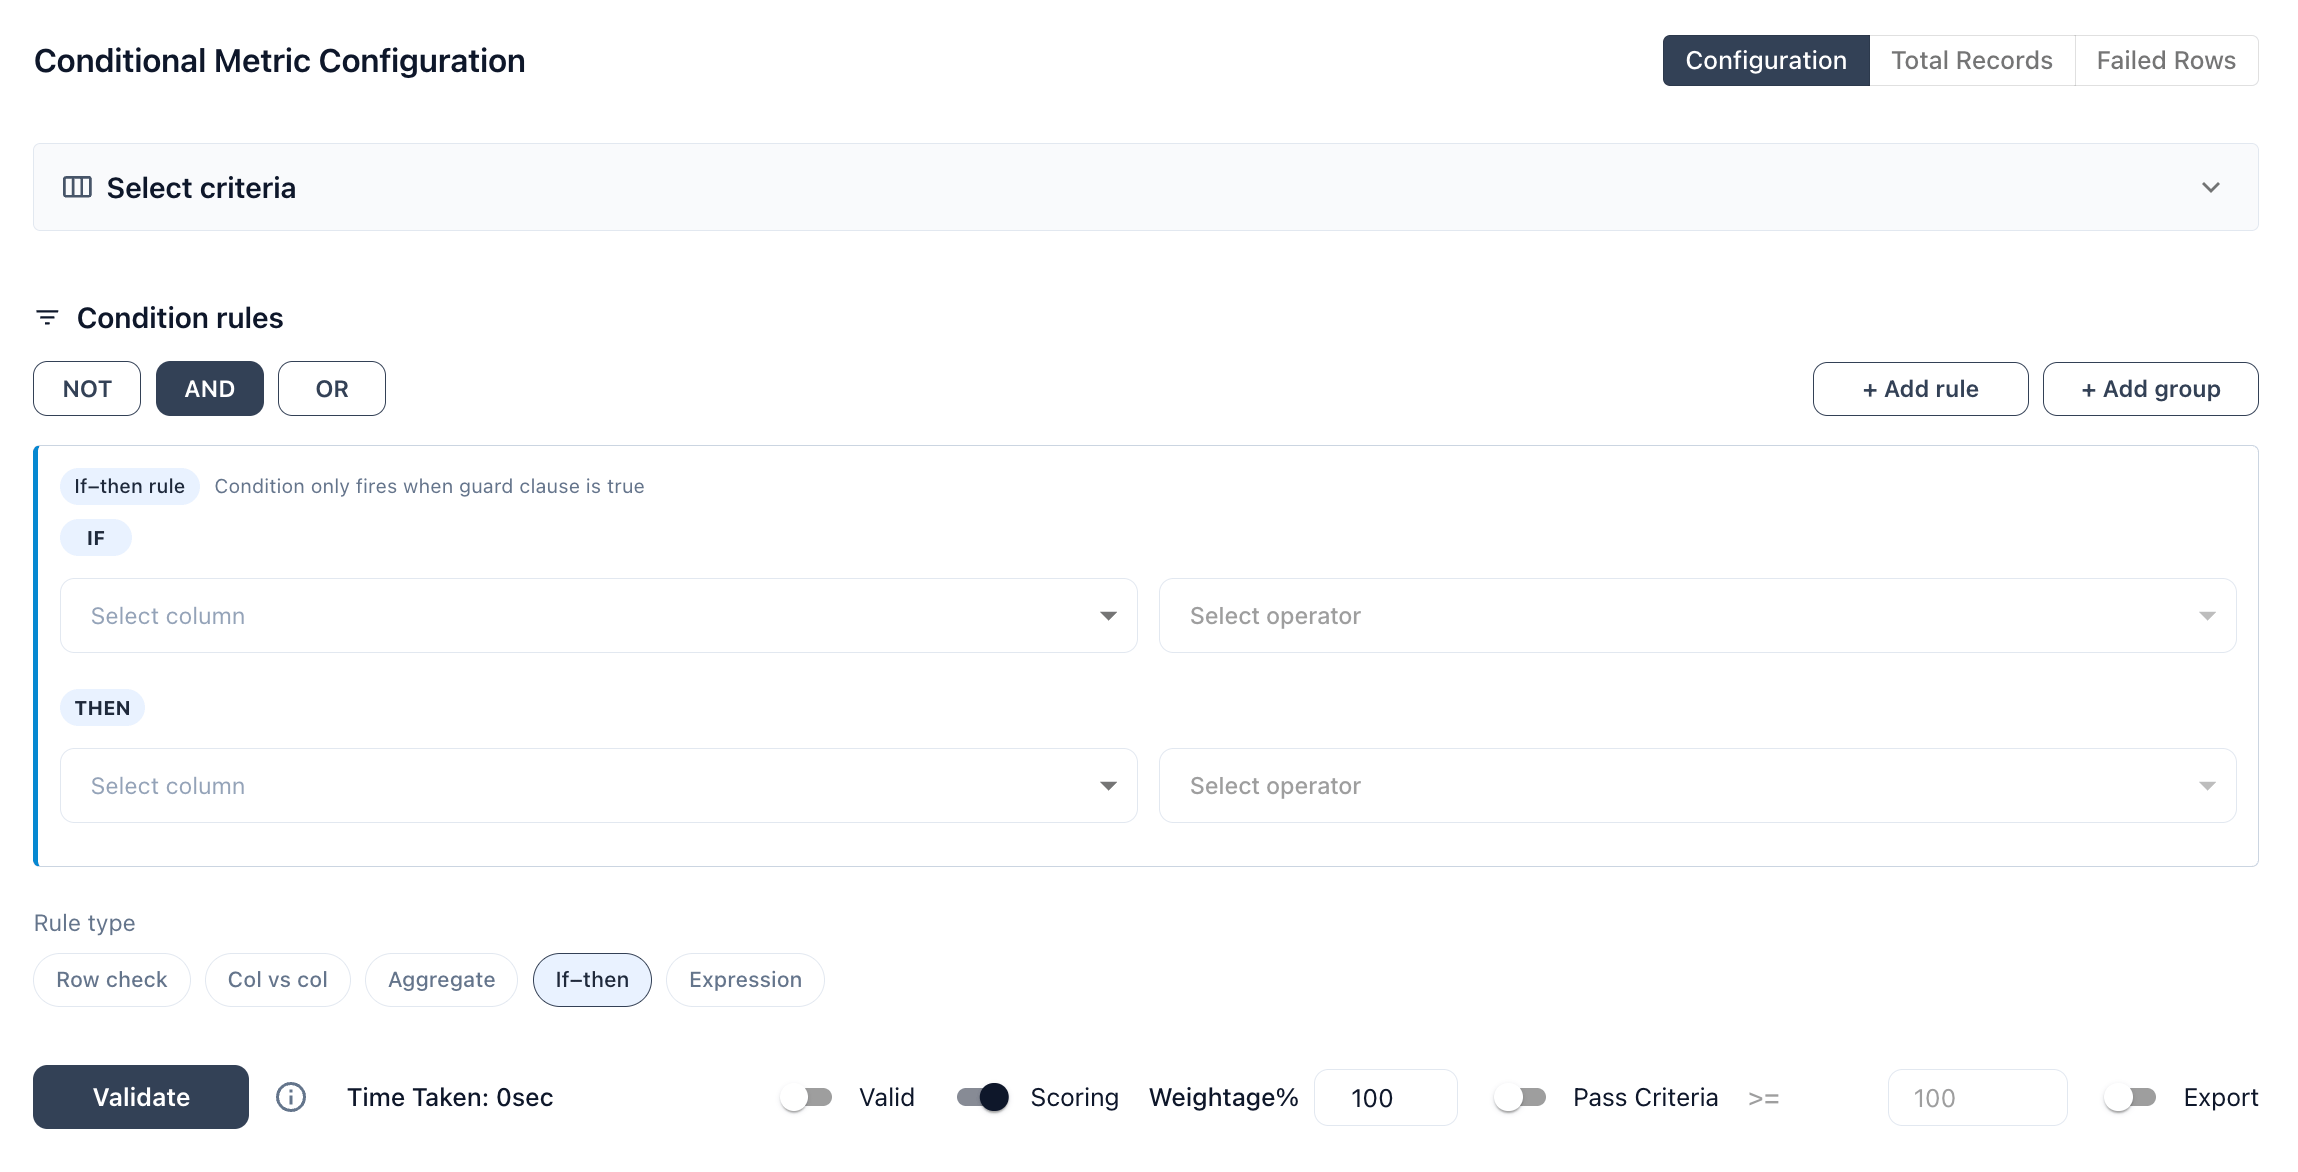
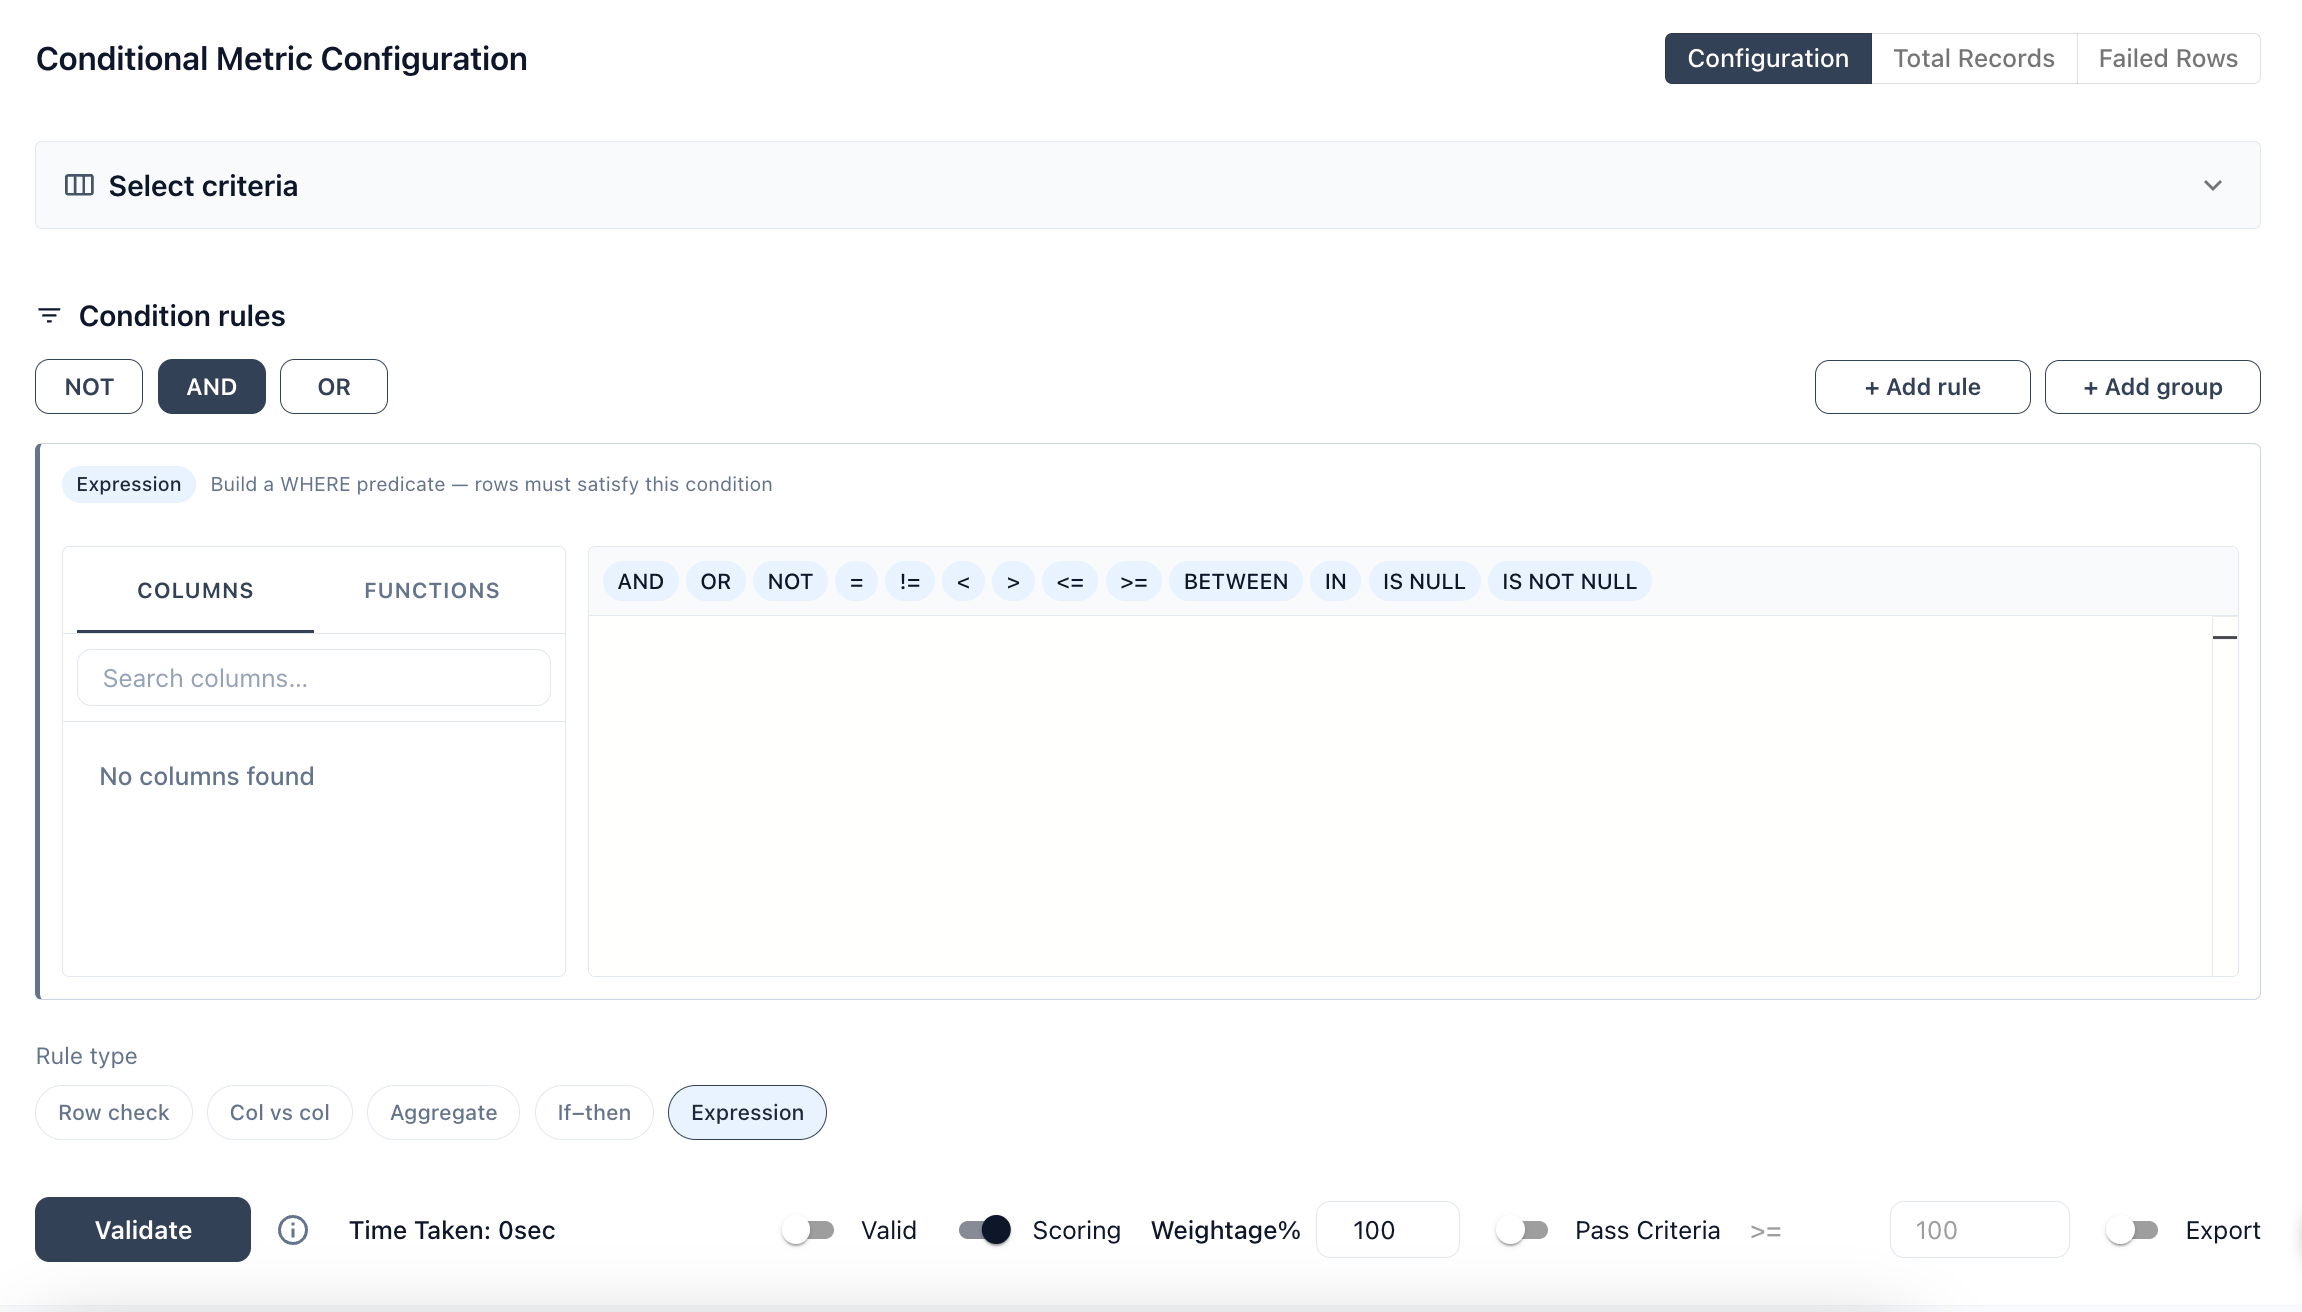
Rule options
Click Validate to test the rule against current data and preview Valid / Invalid counts. Click View prepared query to inspect the underlying SQL Prizm generates.
5
Define Total Records and Failed Rows queries (optional)
The Total Records and Failed Rows tabs let you override how Prizm counts the denominator and numerator of the score — useful when the default row counts don’t reflect your business logic.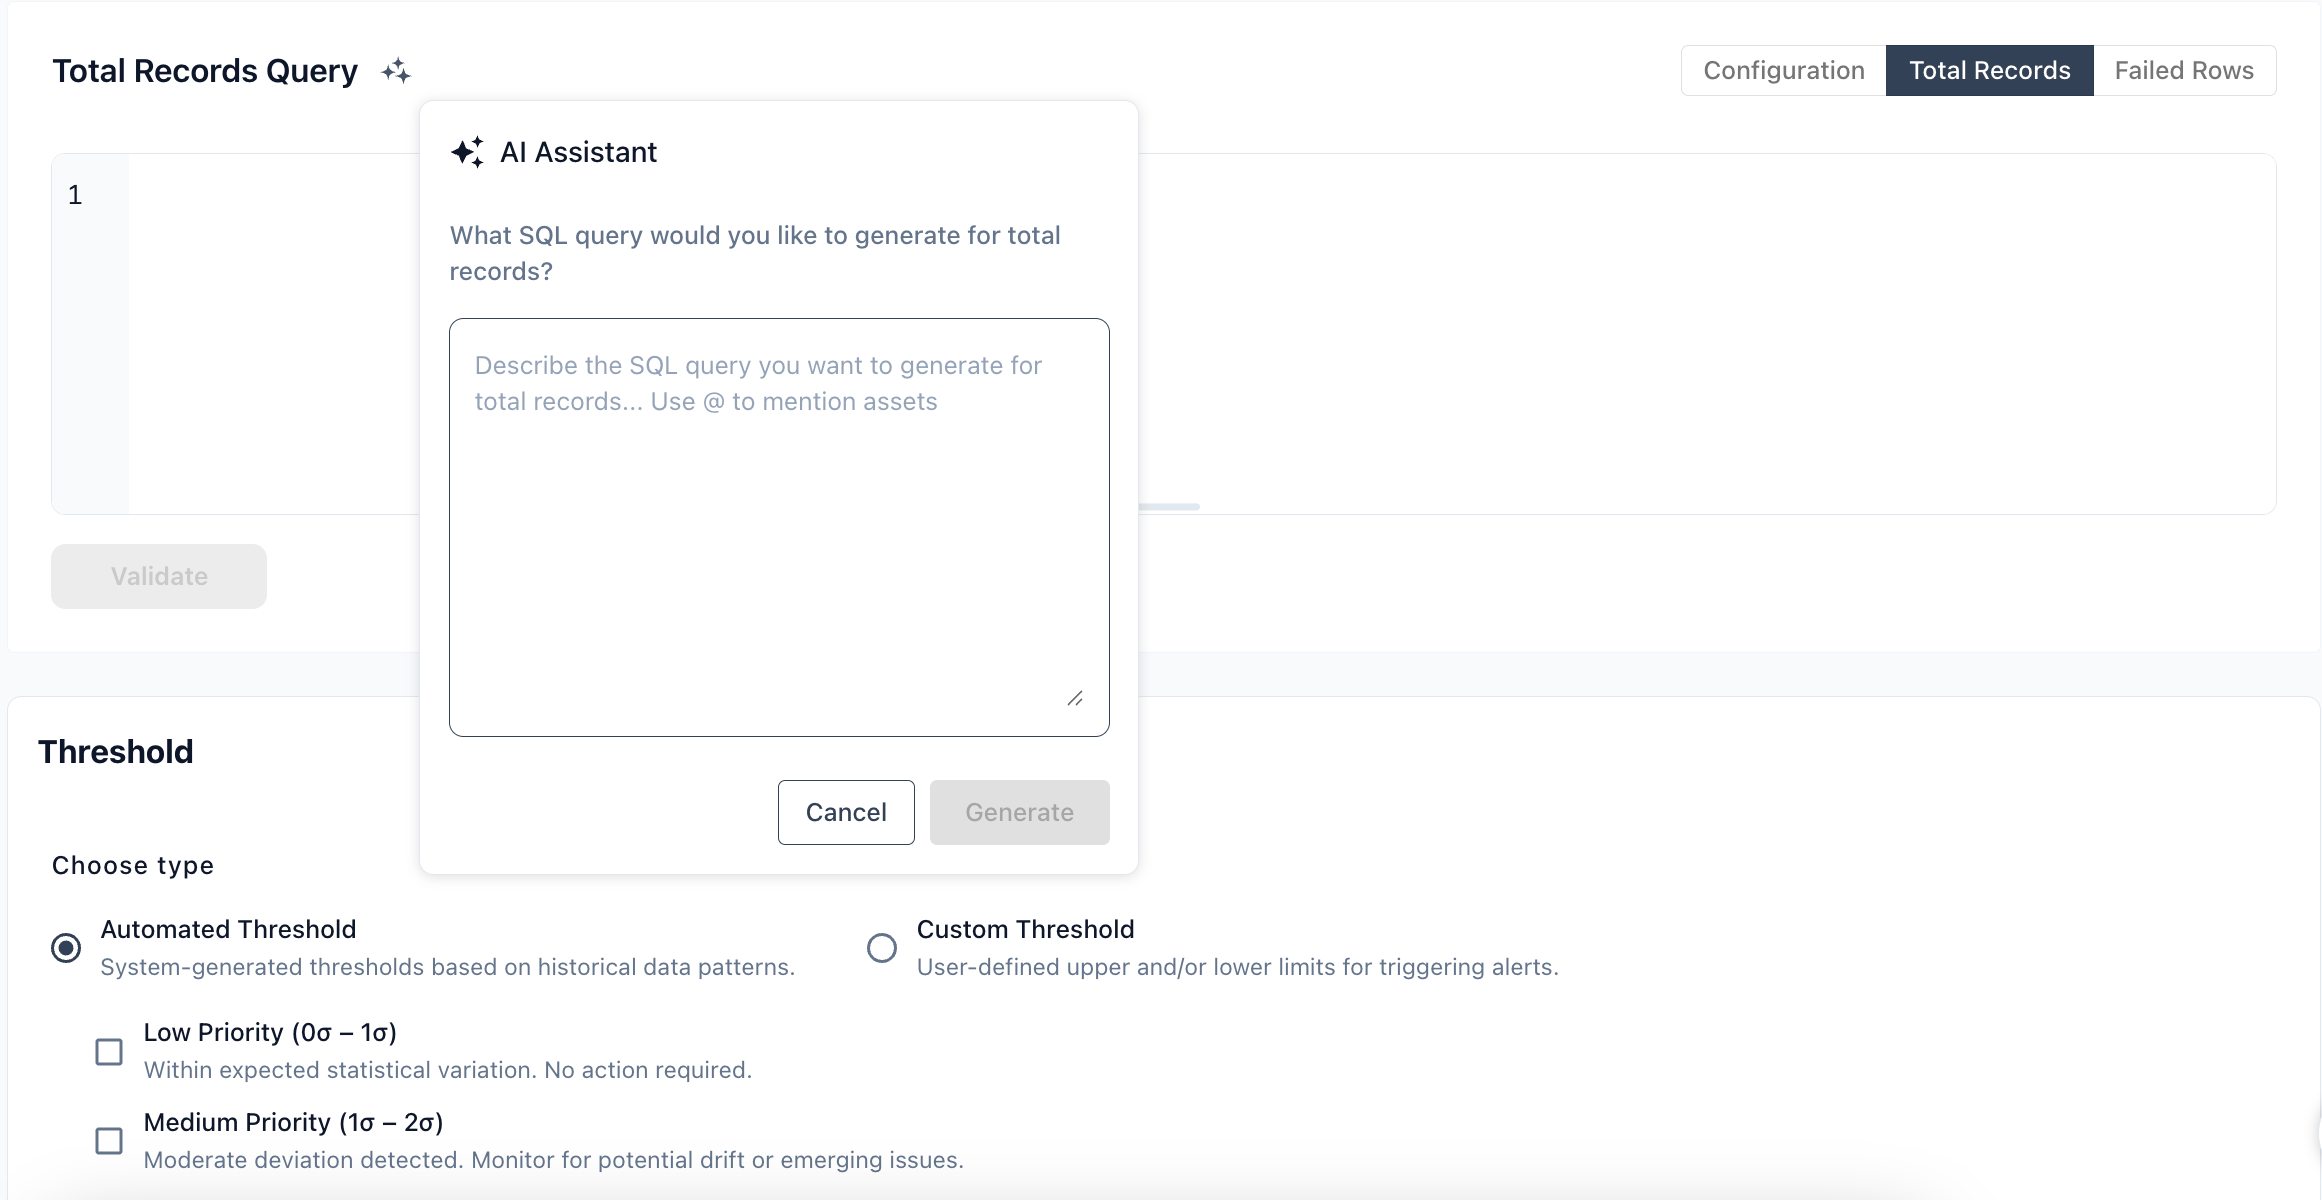
Both tabs support Prizm AI suggestions — click the AI icon to generate an appropriate query based on the metric context.
6
Set the threshold
Choose how Prizm determines when to raise an alert:Automated Threshold — Prizm learns statistical baselines from historical data and alerts when invalid row counts deviate by a configurable number of standard deviations: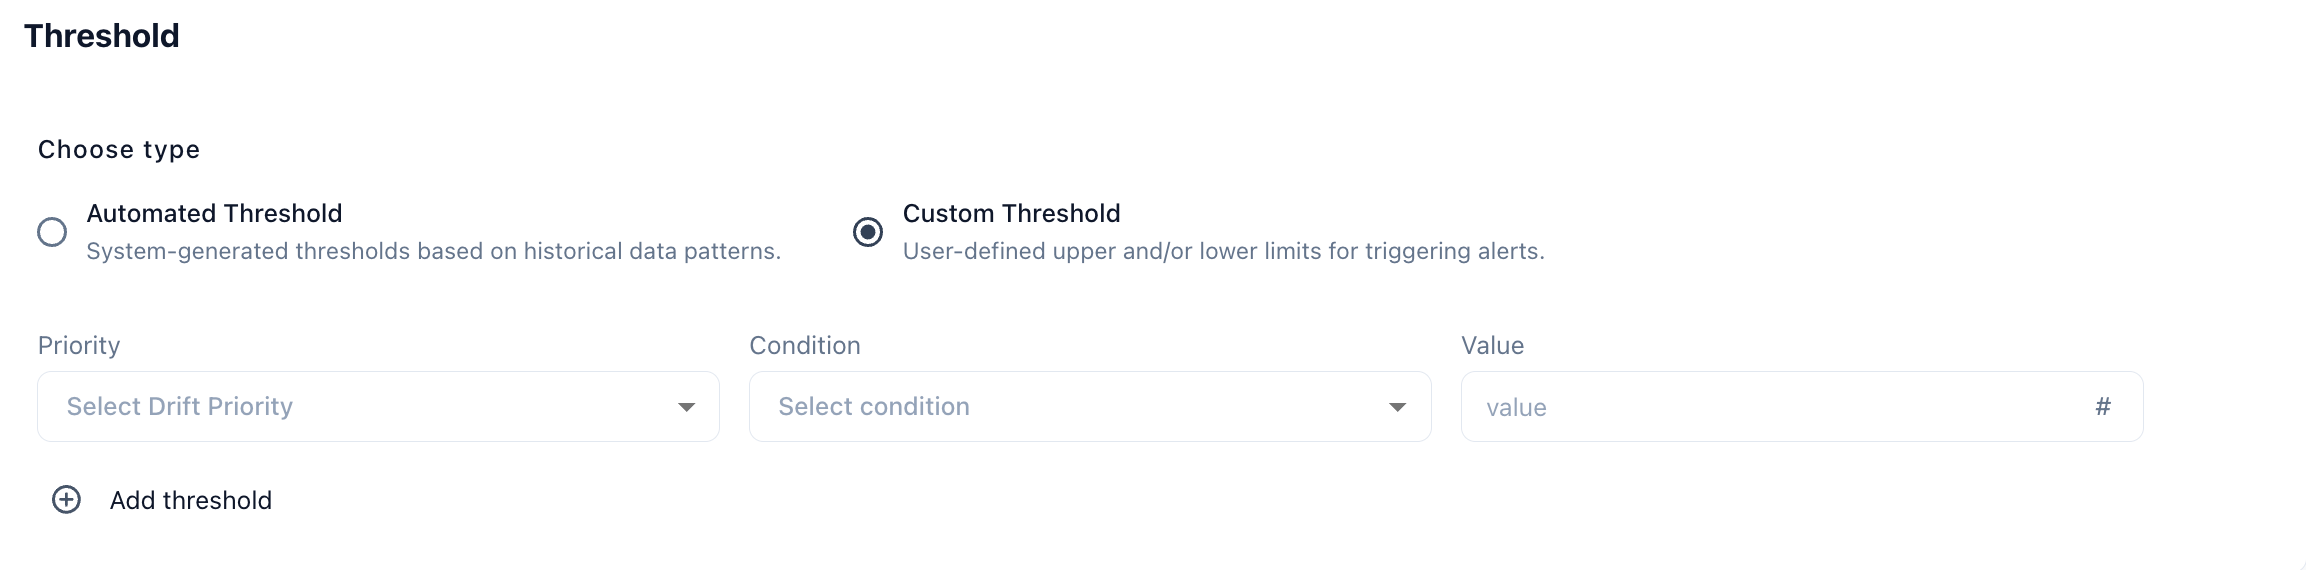
Custom Threshold — Set explicit upper and/or lower bounds on the invalid row count or score to trigger alerts.
7
Set semantic context and owners
Scroll down past the Threshold section to complete:
- Semantic context: Assign Domain, Application, Product, Tag, and Dimension to make the metric discoverable and contextually relevant.
- Owners: Set Business owner, Technical owner, and Steward.
- Audience: Restrict who can view this metric’s results.